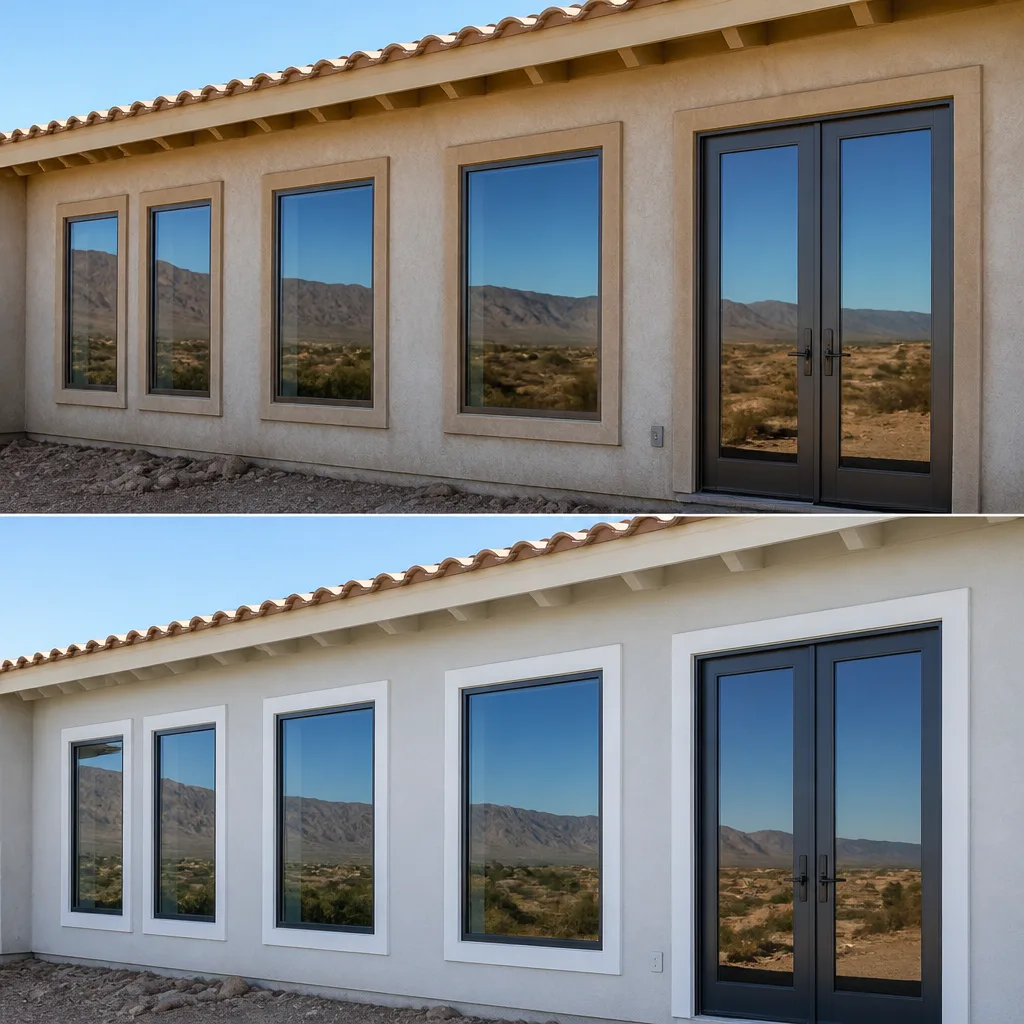
Last updated November 18, 2026
New windows and doors improve comfort, cut energy bills and add long-term value to your home. Sightline Windows & Doors Mesquite pairs proven product lines with a local vetted installing partner for lasting performance - and a price put in writing.
Choose your installer
The unit is half the job - the install is the other half. Background-checked local installers measure, set, seal and insulate every opening, and they know the lines we quote inside and out.
Select the right products
Compare styles, materials and glass packages side by side until the fit is right for your rooms, your budget and your goals. The product-line comparison below is the place to start.
Prepare your home for install
Before install day we walk you through a short checklist - furniture pulled back, treatments down, a clear path to each opening - so install day is watch-it-happen, not scramble.
Compare the Lines We Quote
Every project is priced on the same lines, side by side - the price indicators below are relative, and your consultant shows exact numbers on your actual openings.
PGTThe line homeowners arrive naming - the most impact certifications in the industry$$$
- More impact certifications than any other line we quote
- WinGuard, EnergyVue and ClassicVue Max systems built for every wind zone
- 99% on-time delivery keeps your install date on the calendar
CGIThe heavyweight impact line$$$$$
- Large-missile impact ratings for the strictest wind zones
- Architectural-grade aluminum with commercial-depth frames
- The line we quote when protection is the whole point
CWSThe value pick$$
- Vinyl systems built to strict wind codes
- Strong energy packages at the friendliest price point
- The smart start for whole-home replacements on a budget
ESWSlim lines, big glass$$$$
- Narrow-sightline aluminum for modern elevations
- Oversized openings and floor-to-ceiling glass
- Impact-rated without the bunker look
ECOThe aluminum impact workhorse$$$
- Factory-built aluminum impact systems
- A strong price-to-protection ratio for coastal homes
- Proven lines with short lead times
DIY vs Professional Window Replacement: What’s Safe to Do Yourself
Removing an old window sash is a legitimate DIY task. Modifying a rough opening, however, may touch a load path, and in most Nevada jurisdictions that work requires a permit whether a homeowner or a contractor does it. That distinction matters more than skill level. In our experience across Mesquite, the jobs that go wrong aren’t the ones where somebody lacked dexterity. They’re the ones where somebody crossed a line that only shows up two years later as a soft sill or a fogged pane nobody will warranty. This guide draws that line at the task, not the person.
Quick Answer
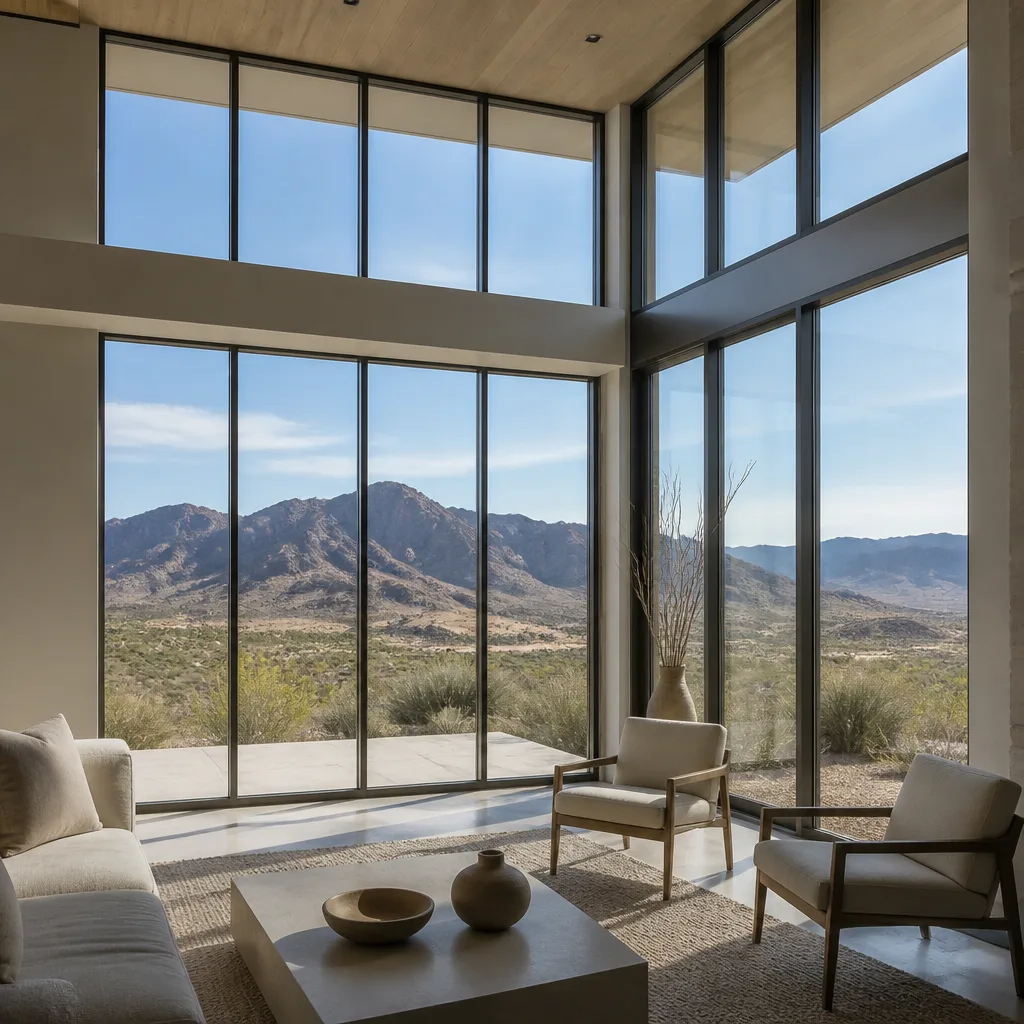
You can safely handle surface prep, trim removal, interior caulking, and cleanup on a window replacement. Anything that touches the rough opening, flashing, the window’s structural attachment, or a size change is professional territory, and in Mesquite, a size change almost always needs a permit. Get those wrong and the failure shows up years later, outside warranty, with no way to prove who caused it.
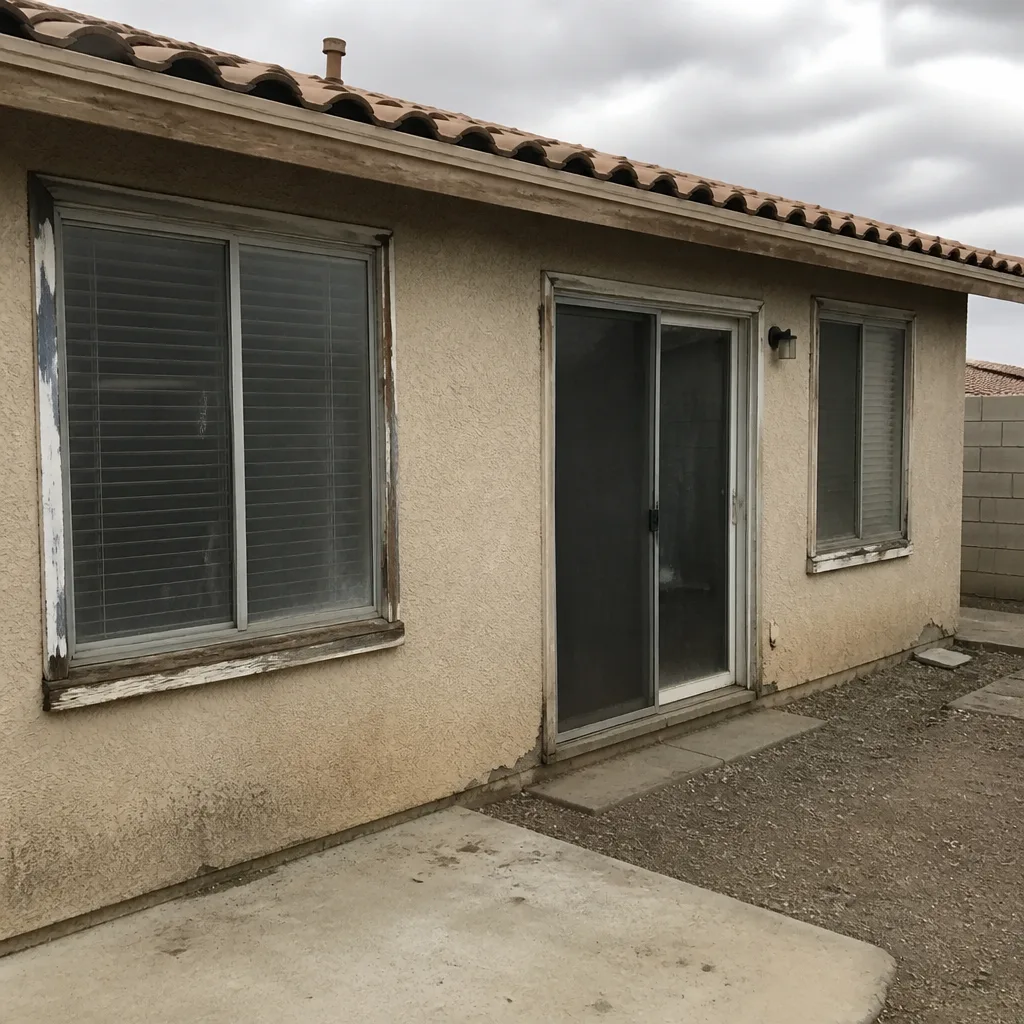 Before
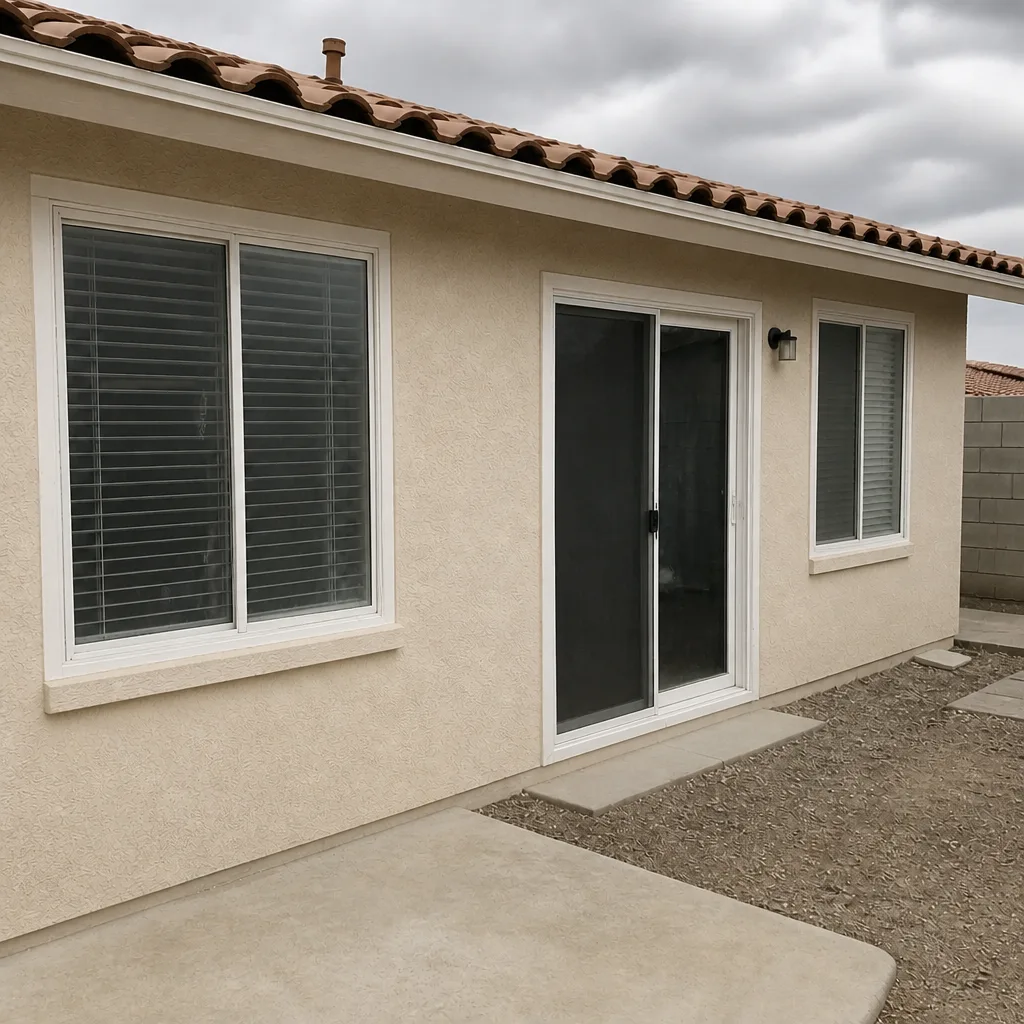 After
Table of Contents
- Why the Line Is Drawn at the Task, Not the Skill
- The Replacement Sequence, Task by Task: What’s Safe and What Isn’t
- Nevada Permit Rules: Size Change vs. Same-Size Insert
- Which Mistakes Void the Manufacturer’s Warranty
- The Waterproofing Sequence and Why Order Matters
- What a Professional Install Document Should Contain
- Mesquite’s Climate and What It Does to a Bad Install
- DIY Cost vs. Professional Cost: The Honest Comparison
Why the Line Is Drawn at the Task, Not the Skill
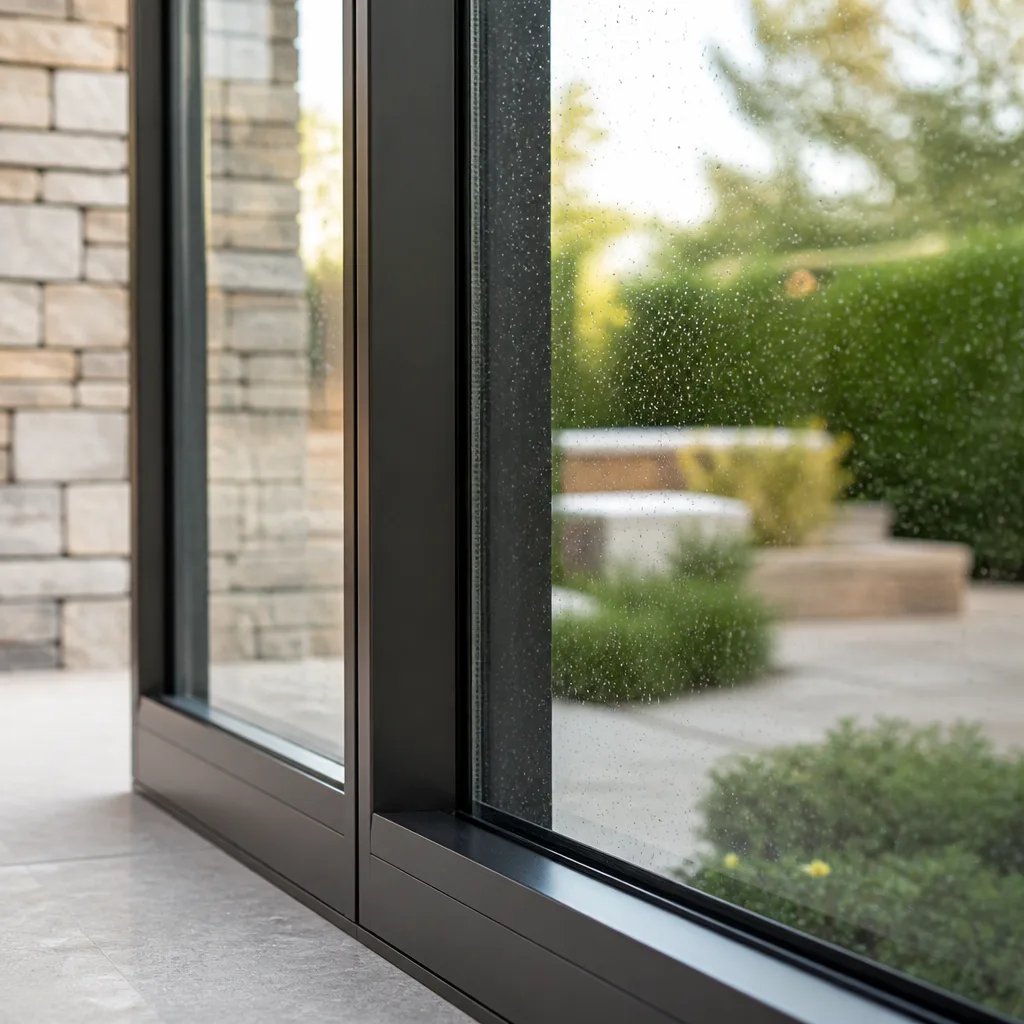
Most DIY-versus-pro advice frames this as a question of confidence. It isn’t. A homeowner with a level, a pry bar, and some patience can do excellent work on the front half of a window replacement. The problem is the back half, where the decisions are permanent.
Consider what’s actually inside a wall when you pull a window. There’s a rough opening framed by a header, jack studs, a sill, and often a king stud on each side. There’s sheathing, a weather-resistive barrier, possibly housewrap, and whatever flashing the original installer used, sometimes poorly. There’s the window’s nailing flange, which ties the unit into the wall, and there’s the sill pan that’s supposed to catch water that gets past the sash. Every one of those pieces has a correct order of operations. Skip one and the unit still looks fine on the day it’s installed.
That’s the crux. Window failures are almost never visible at handoff. They show up as water staining on the drywall below the sill, or a fogged double-pane unit, or a draft that appears the first winter after installation. By then the wall is closed, the trim is painted, and the warranty question has become a finger-pointing exercise.
We’ve walked into Mesquite homes where a homeowner-done window replacement from three years earlier had water damage behind the drywall that nobody noticed until a repaint. The window itself was fine. The flashing sequence wasn’t. In that case the fix wasn’t a new window. It was opening the wall.
The Replacement Sequence, Task by Task: What’s Safe and What Isn’t
Here’s the actual sequence for a full-frame replacement, which is the common scenario in Mesquite’s older Sun City and Desert Ridge-area homes where the original single-pane units have aged out. Each step gets a designation and the specific reason.
- Interior trim and stop removal. DIY-safe. Cosmetic, reversible, and any damage to the trim is fixable. Wear eye protection; older trim may have lead paint if the home was built before 1978, and a test kit costs less than a window.
- Sash and glass removal. DIY-safe with a partner and gloves. The sash is heavy but manageable. Tilt it out, don’t drop it. If you’re working above the first floor, do not remove sashes over an occupied area below without a spotter.
- Exterior trim and siding detachment. Borderline. You can do it, but you’re operating near the weather barrier. If you tear the housewrap, you’ve created a leak point that needs sealing before the new unit goes in.
- Rough opening inspection. Professional-required. This is where you find rotted sill framing, undersized headers, or a rough opening that isn’t square. What you find here may change the permit status of the whole job, and it’s a load path question.
- Rough opening modification (any size change). Professional-required, and permit-required in most Nevada jurisdictions. A header is a load path element. Cutting one without an engineer’s direction is how floors sag.
- Sill pan installation and flashing sequence. Professional-required. Order matters: sill pan first, then the weather barrier laps over the flange on the sides and bottom, and the top flange tucks under the barrier. Get the order wrong and you’ve built a funnel.
- Window set and shimming. Professional-required. A window shimmed wrong will bind on the sash, and a bound sash voids most manufacturers’ operating warranties.
- Fastening and insulation. Professional-required for the flange fastening pattern; DIY-safe for low-expansion foam application if the installer approves it. Standard expanding foam can warp a frame.
- Interior and exterior sealant. DIY-safe for the final bead, but only after the installer signs off on the flashing. A tube of caulk over bad flashing makes a failure invisible, not fixed.
- Trim, paint, and cleanup. DIY-safe. This is where a homeowner actually saves money without adding risk.
If you read that list and only do steps 1, 2, 9, and 10, you’re saving labor on the parts that don’t void anything. If you push into step 4 or 5, you’re in territory where a written, permitted professional job is the safer call.
Nevada Permit Rules: Size Change vs. Same-Size Insert
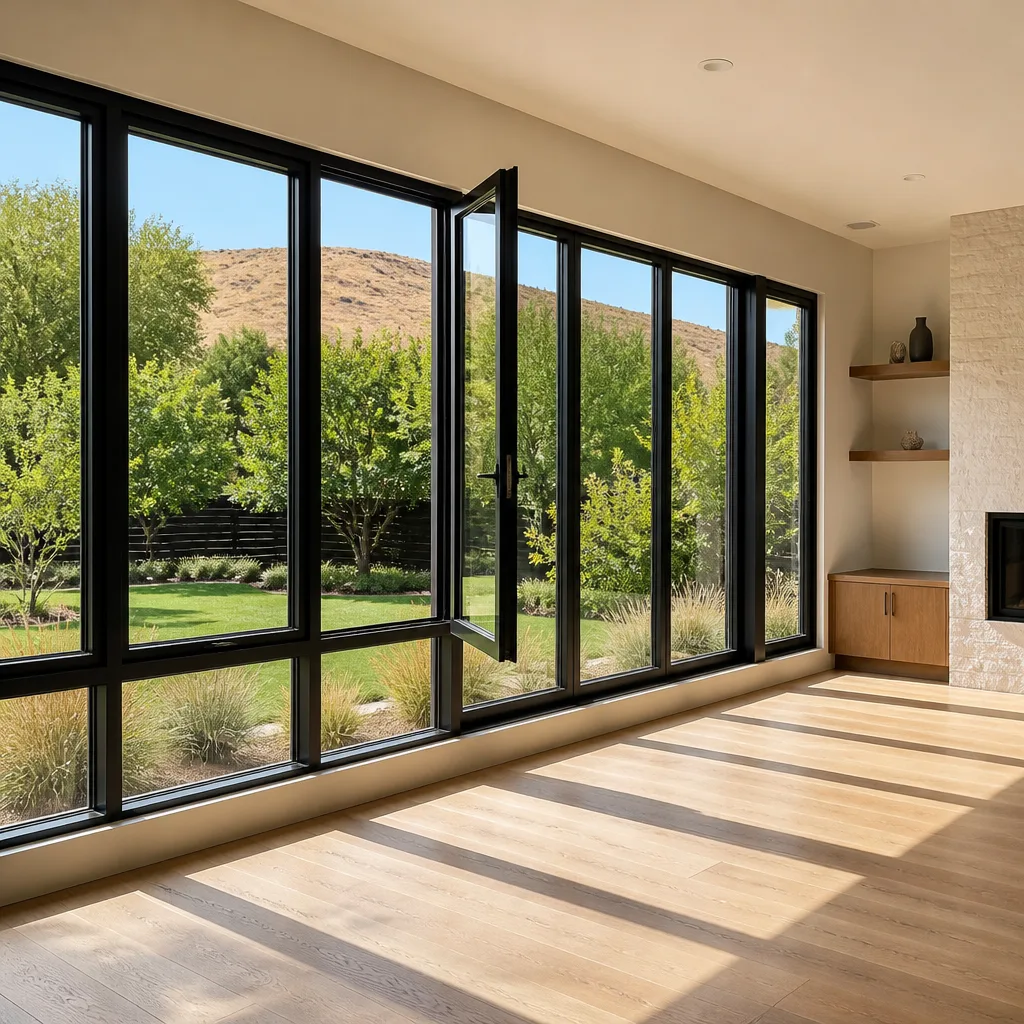
Permit rules vary by jurisdiction in Nevada, so the specific answer for your property depends on whether you’re inside Mesquite city limits or in unincorporated Clark County. But the pattern is consistent enough to state plainly.
Same-size insert replacement (a new unit that fits the existing opening without changing the framed rough opening) is usually permit-exempt in residential applications. The window is being treated as a fixture swap, structurally equivalent to replacing a water heater of the same capacity. Call your local building department before you assume exemption; some jurisdictions require a permit for any exterior envelope change on a property in a special flood zone or historic district, and Mesquite has both.
Size change is where the permit picture gets serious. If you’re enlarging the opening, that usually means cutting a header. If you’re shrinking it, that means infilling framing and possibly changing the load path. Either way, most jurisdictions require a permit, an inspection, and in some cases stamped plans if the header changes. A homeowner can pull a permit in Nevada in many cases, but pulling it and passing the inspection are two different things, and a failed inspection on a load path is a real problem when you try to sell.
Mesquite’s permit volume is small enough that inspectors often know the trades who work here. That cuts both ways. A well-documented job with a written scope and photo record moves through inspection fast. A homeowner-done job with no documentation tends to get a closer look. If you’re weighing a size change on a Mesquite property, a window replacement in Mesquite handled through a permitted installer is the lower-risk path, even if the labor line on the quote is higher.
Which Mistakes Void the Manufacturer’s Warranty
Window warranties are long documents written by manufacturers’ counsel, and the exclusions are where the claims get denied. If you read the exclusion section of a typical PGT, ES Windows, or Mr-Glass product warranty, the same four or five clauses show up.
- Improper installation. This is the big one. Warranty language typically excludes damage “caused by faulty installation” or “installation not in accordance with manufacturer’s written instructions.” That phrase sounds procedural. In practice, it means a claim for a failed sealant, a bowed frame, or a leaking sill is denied if the manufacturer’s field rep can point to a deviation from the installation guide.
- Modification of the unit. Drilling a new hole for a handle, cutting the frame for a different trim profile, or repainting a factory-finished frame usually voids coverage on the affected component. Repainting a vinyl window in a dark color, for example, causes heat build-up that warps the frame, and most warranties call that out specifically.
- Improper shimming or fastening. A sash that binds because the frame wasn’t shimmed square at the sill is an installation failure, not a manufacturing defect. The warranty typically covers defects in materials and workmanship at the factory, not at the wall.
- Failure to maintain or use improper sealants. Some warranties specify compatible sealants. Using an incompatible one that attacks the frame finish is a common exclusion.
- Damage from job-site handling. Scratches, dings, and glass chips that happened before installation are excluded. If you’re doing the install yourself, you’re the one who owns that damage.
What this means for the DIY question is blunt. On a same-size insert, a homeowner who follows the manufacturer’s installation instructions to the letter and keeps the document can preserve warranty coverage. On a full-frame replacement, the chances of matching every instruction (fastener spacing, flashing sequence, insulation type) without trade experience are low, and the manufacturer’s rep doesn’t have to prove you were careless. They only have to point to a deviation.
Ask your installer, in writing, which manufacturer’s installation instructions they used and whether they will provide the relevant page from the guide with the job paperwork. A professional who won’t answer that question is telling you something.
The Waterproofing Sequence and Why Order Matters
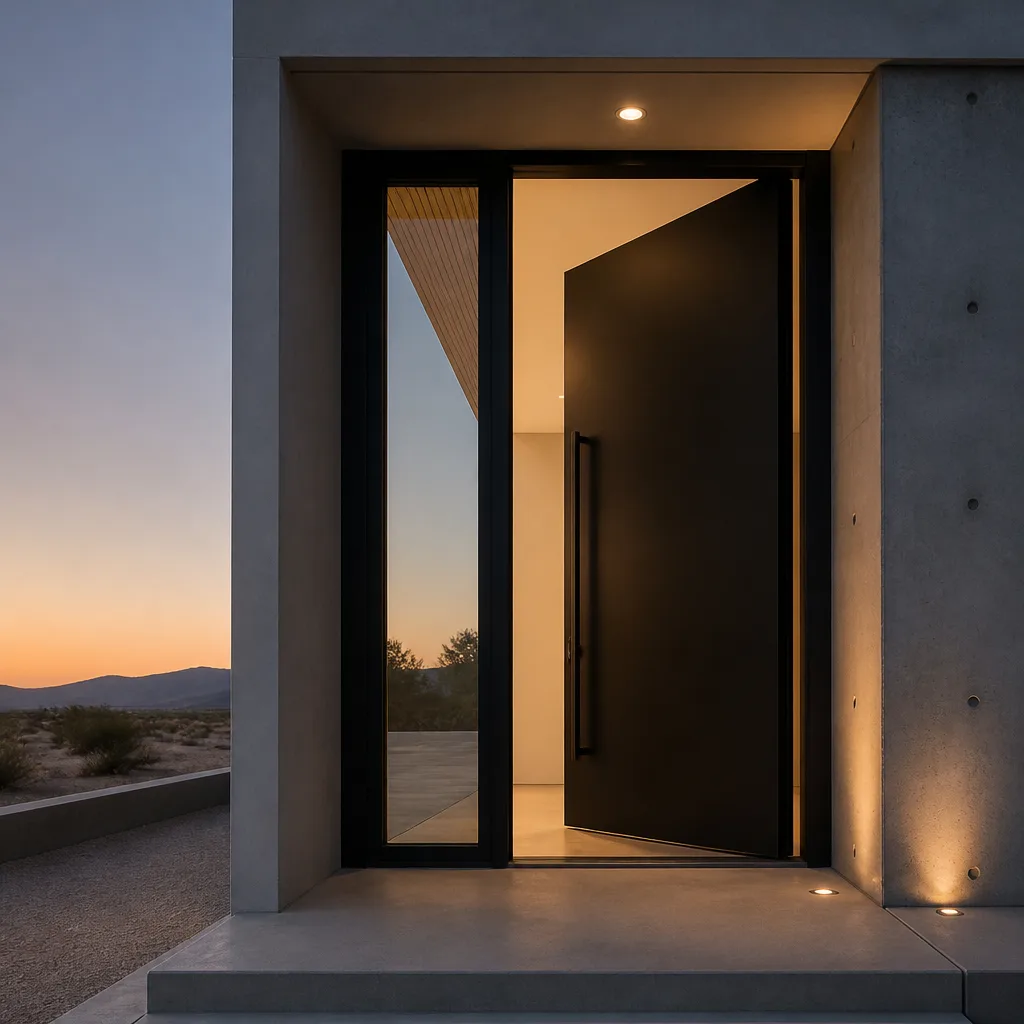
This is the part of window replacement that separates a ten-year job from a thirty-year job, and it’s the part no homeowner should attempt on a full-frame install. The reason isn’t that the steps are hard. It’s that a sequence error is invisible at install and indistinguishable from normal weathering five years later.
Here’s the correct order for a typical flanged window install over wood sheathing with a weather-resistive barrier:
- Sill pan or sill flashing first. It goes under the window and extends past the rough opening on both sides, with the back dam turned up. This is the single most-failed step in the whole sequence.
- Weather barrier laps over the flanges on the sides and bottom. Water travels down. The barrier must shed water over the flange, not behind it. If it laps behind, water gets into the wall cavity.
- Top flange tucks under the barrier. This is the one place the flange goes behind the barrier, because water coming down from above must shed over it, not into it.
- Flange fasteners at the manufacturer’s spacing. Usually no more than 8 to 12 inches on center, and set in the reinforced flange, not the frame.
- Low-expansion foam, sparingly. Standard foam expands and bows the frame. Low-expansion window-and-door foam only, applied in a bead, not a fill.
- Backer rod and exterior sealant, last. The sealant is the final defense, not the only one. A tube of caulk over bad flashing makes a failure invisible, not fixed.
We’ve opened walls in Mesquite where a window from a 2019 replacement had water staining behind the drywall that only showed up when the homeowner repainted three years later. The window was sound. The sill pan was missing. The failure looked like weathering, so nobody called about it until the damage was structural.
Mesquite’s specific risk is the monsoon swing, not the summer heat. Summer humidity here is low enough that a small leak can dry out before it’s noticed. A monsoon-driven wind-driven rain event will push water into places a hose test never reaches. That’s when the bad flashing sequence gets caught. For any exterior opening work where the wall gets opened, the sequence is the thing to get right, and it’s the thing that justifies the professional cost on a window installation in Mesquite.
What a Professional Install Document Should Contain
The reason to hire a professional isn’t just the work. It’s the evidence that the work was done right, which you can inspect later even if you weren’t watching. Here’s what a complete install document should contain, and what to ask for if it doesn’t.
- The measured survey you keep. Every opening’s actual dimensions, written down, handed to you. The quote is built from this document, and the finished install is verified against it. If the survey and the invoice can differ, that’s a red flag.
- The written scope, line by line. Not “install two windows.” “Remove existing unit at north bedroom, inspect rough opening, install sill pan, set ES Windows unit per manufacturer instructions, low-expansion foam, interior and exterior sealant, trim prep.” If the scope is vague, the warranty is vague.
- The permit number and inspection record for any size-change job. This is public record, so you should be able to look it up.
- The manufacturer’s installation instruction reference. Ask which page from the guide was followed. A professional who knows will answer in one sentence.
- A photo record at each stage. Sill pan before the unit goes in, flashing before the sealant, foam before the trim. These are the exact photos you’d need if a warranty claim ever surfaced, because they show the sequence was followed. The Haven Standard’s Evidence on Every Job clause exists because of exactly this.
- A written warranty with a name and term on it. Not “we stand behind our work.” Written, dated, specific about what’s covered and for how long.
- The technician’s license number on the paperwork. If the person who did the work has a license, the number should be on the record. Verified Crews, not just verified at the door.
We include every one of these on every job, not as an upsell. The measured survey, the scoped quote, the photo record, and the written warranty travel together. If a competitor’s quote doesn’t include these, ask for them. A free second opinion on any written estimate is the least we can do, and it’s often where a homeowner discovers the quote they were about to accept wasn’t documented at all.
Mesquite’s Climate and What It Does to a Bad Install
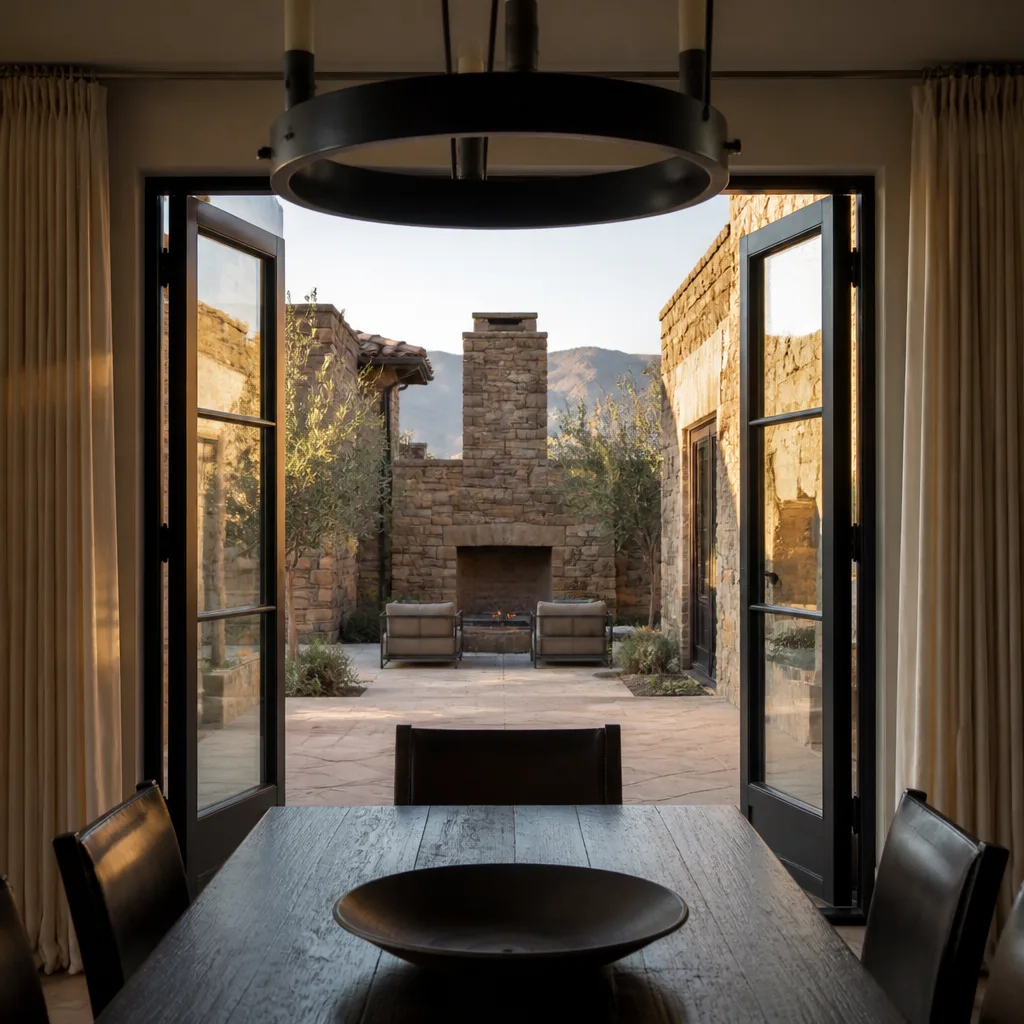
Mesquite sits at about 1,600 feet in the Virgin River valley, and it’s hot. Summer highs regularly pass 105°F, and the sun load on a south-facing window in the afternoons is significant. That matters for two reasons on a window install.
First, thermal expansion. A vinyl or aluminum frame moves measurably across a 40-degree daily swing. A frame that was shimmed tight at install time will bind as it moves, and in a Mesquite summer that’s a monthly event, not a seasonal one. The manufacturer’s frame allowance exists to absorb that movement. Get the shimming right and the sash operates for years. Get it wrong and the sash binds within a season.
Second, sealant life. Exterior sealants cure differently in the desert than in a coastal market, and the joint at the sill and jamb takes the worst of the UV load here. A sealant applied over bad flashing in Mesquite will fail faster than in a cooler climate, which means the leak shows up sooner. That’s a mixed blessing: the failure surfaces before the wall is fully rotted. But it’s still a failure.
Wind-driven rain during the July through September monsoon is the other variable. The storms are short and intense, and they push water sideways into places a hose test never reaches. A window that’s sound on a calm day can leak under a 40-mph monsoon gust if the flashing sequence has a gap. That’s the specific reason Mesquite homeowners should treat the waterproofing sequence as non-negotiable, even if they’re comfortable doing everything else.
DIY Cost vs. Professional Cost: The Honest Comparison
The DIY savings on a window replacement, once you account for what you’re actually doing, are smaller than the sticker shock suggests. Here’s the honest breakdown for a typical Mesquite same-size insert replacement on a single window:
- Unit cost: $350 to $900 for a standard energy-efficient unit in the 3-foot-by-5-foot range, depending on glass package and brand.
- Professional install labor: $150 to $375 per opening for a same-size insert, higher for full-frame.
- DIY tool cost (amortized): $50 to $150 per window if you’re buying the caulk gun, pry bars, shims, low-expansion foam, and flashing tape for the first time. Less if you already own them.
- DIY permit cost: $0 for an exempt same-size insert; $80 to $250 for a size-change permit, depending on jurisdiction and valuation.
- DIY risk exposure: The full cost of a re-do. If the sequence is wrong and the wall gets wet, you’re looking at drywall, insulation, and framing repair, which is $1,200 to $3,500 depending on how much of the wall is affected.
On a same-size insert with good flashing practices and no complication, the DIY savings are real: maybe $200 to $400 per window after tools. On a full-frame replacement or any size change, the labor line buys the permit, the documentation, and the warranty coverage. That’s not a sales argument. It’s what the labor is actually paying for. A homeowner who does the work themselves and gets it right saves the labor. A homeowner who does the work themselves and gets it wrong pays for the re-do plus the original labor, and has no warranty to fall back on.
Common Mistakes to Avoid
- Cutting a header without an engineer’s sign-off. This is the one that turns a weekend project into a structural repair. If the opening is getting bigger, the header needs to be sized for the load, and in most Nevada jurisdictions that means a permit and a plan.
- Reversing the flashing lap. The weather barrier laps over the side and bottom flanges and tucks under the top flange. Invert any of those and you’ve built a funnel into the wall. The failure won’t show until a monsoon season.
- Using standard expanding foam instead of low-expansion. Standard foam expands with enough force to bow a window frame. The damage is permanent and the warranty won’t cover it.
- Sealing over bad flashing. A tube of caulk makes a leak invisible, not fixed. It also makes the failure harder to diagnose later, which costs more to repair.
- Assuming a same-size replacement is permit-free without checking. Mesquite has flood-zone properties where an exterior envelope change triggers a permit regardless of size. A two-minute call to the building department settles it.
- Skipping the manufacturer’s installation guide. If you can’t produce the page you followed, you can’t defend a warranty claim. That’s the entire exposure in one sentence.
- Not photographing the sequence. If you do the work yourself, take a photo of the sill pan before the unit goes in, the flashing before the sealant, and the foam before the trim. Those photos are your only evidence if a claim ever arises.
When to Call a Professional
Call a professional when the scope involves any of these: a size change of any kind (wider, taller, or different mullion configuration), a rough opening that’s out of square or shows rot, a second-story opening above an occupied area, a wall that’s brick, stucco, or any material where the flashing detail isn’t standard wood-frame, or a home where the original install date is unknown. Also call when you’re unsure. The cost of a professional install on a same-size insert is a known number on the page. The cost of a wrong full-frame install in Mesquite is a wall, a warranty denial, and an inspection problem at sale. Sightline Windows & Doors Mesquite offers free estimates in Mesquite. Call (888) 268-5117 to schedule one. Every estimate includes a measured survey you keep and a written price before any work starts.
Frequently Asked Questions
Yes, for a same-size insert replacement with no rough-opening modification, provided you follow the manufacturer’s installation instructions and handle flashing and shimming correctly. Anything that changes the opening size or touches a load path is professional territory and typically requires a permit in most Nevada jurisdictions. If you’re unsure which category your job falls into, that’s the sign to get a professional estimate.
Same-size insert replacements are usually permit-exempt in residential applications, but size changes almost always require a permit in Nevada jurisdictions because they modify the rough opening and potentially the load path. Certain properties, including flood-zone and historic-district homes, may require a permit even for a same-size replacement. Call the Mesquite building department to confirm for your specific address before you buy the unit.
It can. Most manufacturer warranties exclude damage caused by faulty installation or installation that doesn’t follow the written instructions. On a same-size insert, a careful homeowner who follows the guide and keeps the documentation can usually preserve coverage. On a full-frame replacement, the sequence is detailed enough that a deviation is easy to find and hard to defend. Ask which manufacturer’s instructions the installer used, and get it in writing.
Getting the flashing sequence wrong. The weather barrier must lap over the side and bottom flanges and tuck under the top flange, with the sill pan installed first. Invert any of those steps and water gets into the wall cavity. The failure is invisible at install and shows up as water staining on the drywall below the sill years later, and it’s often indistinguishable from normal weathering.
Labor for a same-size insert typically runs $150 to $375 per opening in the Mesquite market, with the unit cost adding $350 to $900 depending on glass package and brand. Full-frame replacements and size changes run higher because of the permit, the rough-opening work, and the additional flashing detail. Call (888) 268-5117 for a written price on your specific openings; estimates are free, and the written price is prepared before any work starts.
At minimum: the measured survey you keep, a written line-item scope, the permit number and inspection record for any size-change job, the specific manufacturer’s installation instruction reference, a photo record of the flashing and insulation sequence, and a written warranty with a term on it. If a quote doesn’t include these, ask for them. Bring us a competitor’s quote and we’ll review it at no charge.
The Bottom Line
The DIY-versus-pro line on window replacement runs through the tasks, not the person. Surface prep, trim removal, interior sealant, and cleanup are safe to handle yourself and save real money. Anything touching the rough opening, the flashing sequence, the shimming, or a size change belongs to a professional, because those steps carry permit, warranty, and weatherproofing consequences that can’t be fixed after the wall is closed. In Mesquite, the monsoon swing and the 105°F summers make a wrong flashing sequence fail faster than in cooler markets. The proof of a good install isn’t the finished look. It’s the document that shows the sequence was followed. That’s what the labor pays for, and that’s what a warranty actually defends.
Sightline Windows & Doors Mesquite home | Window Replacement in Mesquite | Window Installation in Mesquite | Door Installation in Mesquite
Call (888) 268-5117 for a free estimate on window or door work in Mesquite. Every quote starts with a measured survey you keep, and the written price is prepared before any work starts.
Written by the team at Sightline Windows & Doors Mesquite.
Six Reasons Homeowners Choose Sightline Windows & Doors Mesquite

Laminated glass and reinforced frames hold up to wind-driven rain, hail and flying debris, so your openings stay sealed when the weather turns.
Low-E insulated impact glass from our manufacturer lines commonly cuts monthly cooling bills 20-30%.
Laminated impact glass shuts out up to 40% of outside noise - traffic, neighbors, weather.
Monitoring services run $30-90 a month. Laminated impact glass resists forced entry around the clock, with no subscription.
Tighter seals and insulated glass even out hot and cold rooms and stop the drafts at the frame.
A full impact package upgrades curb appeal, buyer confidence and appraised value in one project.
Other Sightline Windows & Doors Mesquite Services
What Neighbors Say About Sightline Windows & Doors Mesquite