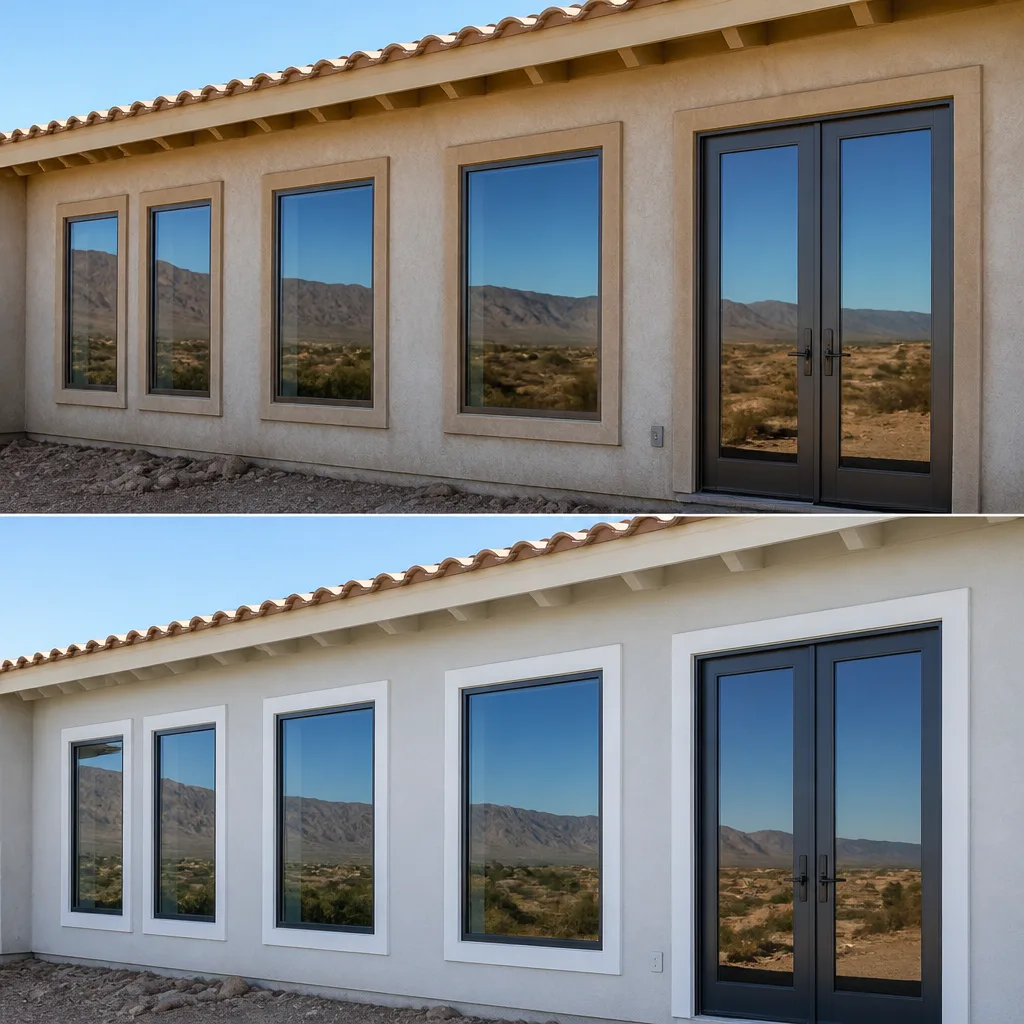
Last updated November 18, 2026
New windows and doors improve comfort, cut energy bills and add long-term value to your home. Sightline Windows & Doors Mesquite pairs proven product lines with a local vetted installing partner for lasting performance - and a price put in writing.
Choose your installer
The unit is half the job - the install is the other half. Background-checked local installers measure, set, seal and insulate every opening, and they know the lines we quote inside and out.
Select the right products
Compare styles, materials and glass packages side by side until the fit is right for your rooms, your budget and your goals. The product-line comparison below is the place to start.
Prepare your home for install
Before install day we walk you through a short checklist - furniture pulled back, treatments down, a clear path to each opening - so install day is watch-it-happen, not scramble.
Compare the Lines We Quote
Every project is priced on the same lines, side by side - the price indicators below are relative, and your consultant shows exact numbers on your actual openings.
PGTThe line homeowners arrive naming - the most impact certifications in the industry$$$
- More impact certifications than any other line we quote
- WinGuard, EnergyVue and ClassicVue Max systems built for every wind zone
- 99% on-time delivery keeps your install date on the calendar
CGIThe heavyweight impact line$$$$$
- Large-missile impact ratings for the strictest wind zones
- Architectural-grade aluminum with commercial-depth frames
- The line we quote when protection is the whole point
CWSThe value pick$$
- Vinyl systems built to strict wind codes
- Strong energy packages at the friendliest price point
- The smart start for whole-home replacements on a budget
ESWSlim lines, big glass$$$$
- Narrow-sightline aluminum for modern elevations
- Oversized openings and floor-to-ceiling glass
- Impact-rated without the bunker look
ECOThe aluminum impact workhorse$$$
- Factory-built aluminum impact systems
- A strong price-to-protection ratio for coastal homes
- Proven lines with short lead times
Window Installation Warning Signs Every Homeowner Should Know
Sealant applied over a dirty or damp surface will look fine for 30 to 60 days, then peel away from the frame cleanly, long after the crew has moved on. By then the leak is inside the wall. The warning sign was there on installation day, and most homeowners walked past it because nobody told them what a properly tooled bead looks like. That’s the whole problem with bad window work: it fails quietly, on a schedule, and the evidence shows up before the symptoms do. This guide names eight warning signs you can read in the first week, explains the defect behind each one, and tells you what to do while the sealant is still curing. We’ll look at Mesquite conditions throughout, since the desert here stresses a window in ways a coastal installation never does.
Quick Answer

The warning signs of a bad window installation are readable within days of the crew leaving: a sealant bead that pulls clean off the substrate, a sash that sits proud or recessed in the frame, a lock that misses its keeper, blocked or missing weep holes, and a photo record that skips the flashing stage. Each one points to a specific defect, and each one gets more expensive to fix the longer you wait. Inspect on installation day and again at the 30-day mark, before the sealant fully cures.
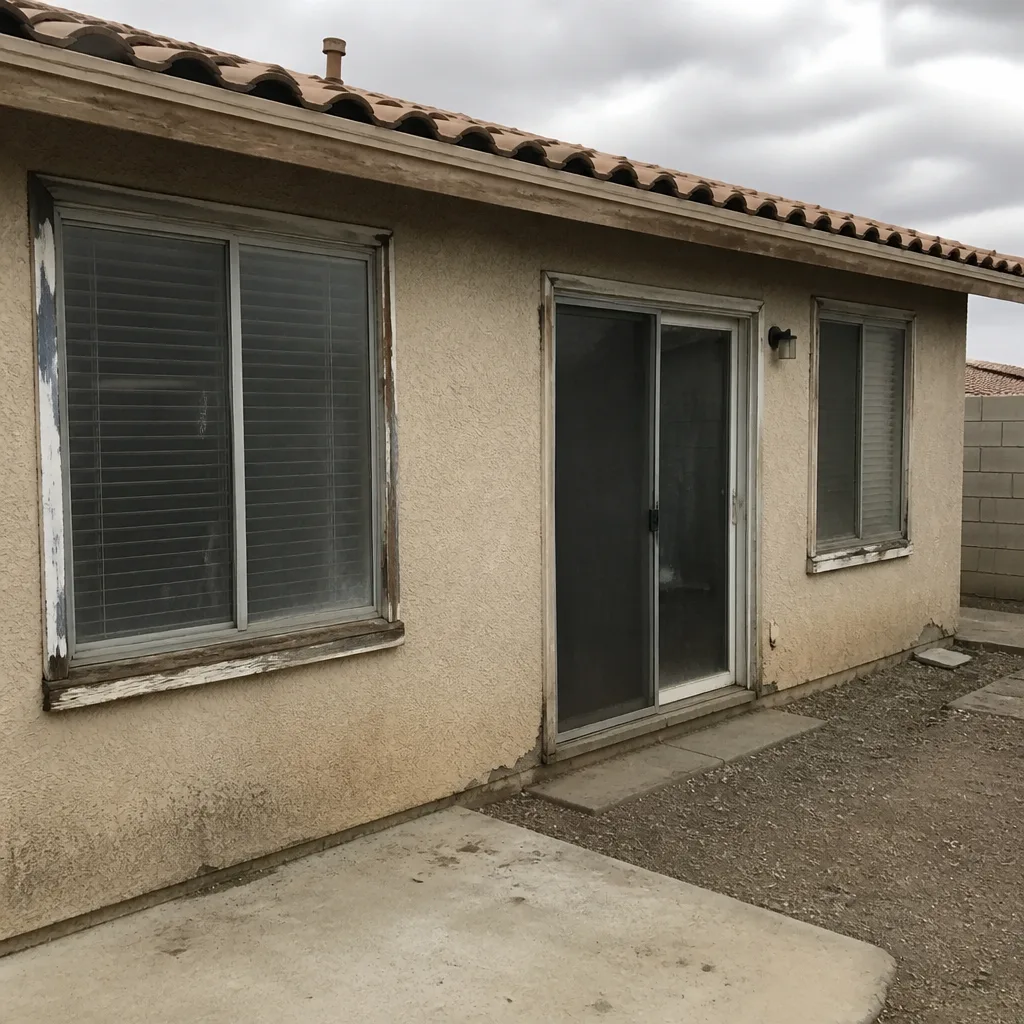 Before
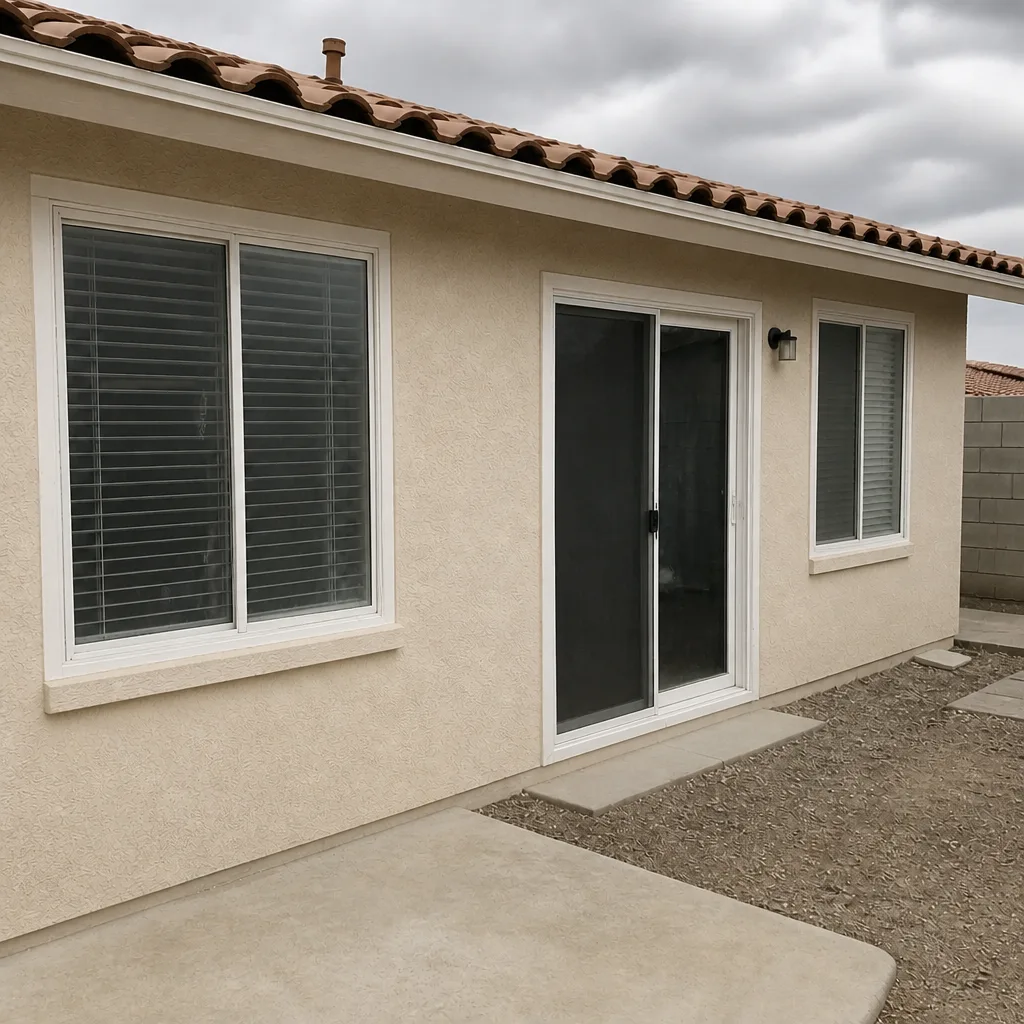 After
Table of Contents
- 1. The Exterior Sealant Bead: What to Inspect on Day One
- 2. Proud or Recessed Placement and the Drainage Problem
- 3. The Operating Test Every Homeowner Should Run Before the Crew Leaves
- 4. Weep Holes: Open, Positioned, and Unblocked
- 5. Reading the Installation Photo Record for Flashing Evidence
- 6. Mesquite-Specific Warning Signs: Heat, Dust, and Stucco
- 7. The Paperwork Warning Sign: Price, Scope, and Warranty
- 8. Your 10-Point Post-Installation Inspection Checklist
1. The Exterior Sealant Bead: What to Inspect on Day One
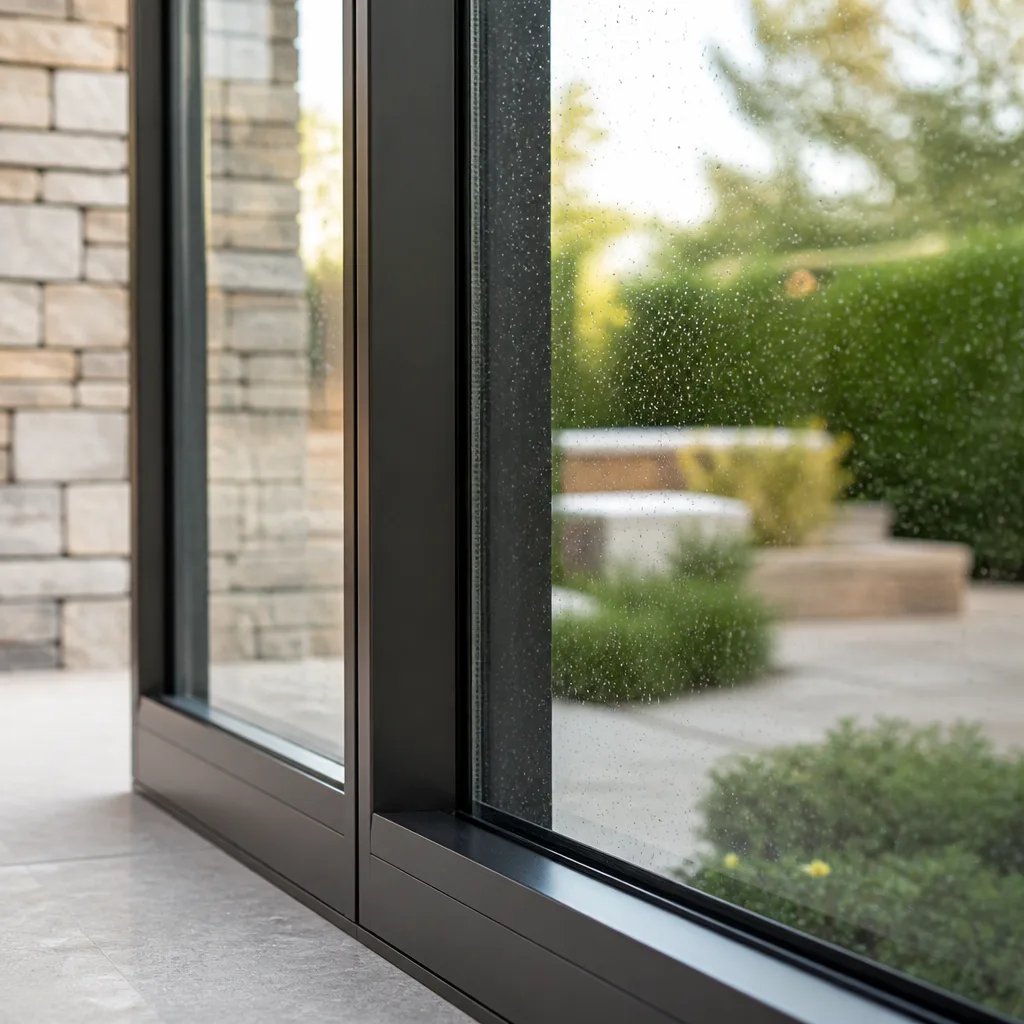
A properly applied sealant bead is tooled, meaning the installer has smoothed it with a finger, a plastic tool, or a sponge so the bead is concave and pressed against both the window frame and the wall surface. It has a continuous, even profile with no voids, no dry edges, and no gaps at the corners. When you press a clean, dry fingertip into the cured bead and it springs back slightly, that’s a working bead. When it lifts off the stucco in one clean ribbon, it bonded to nothing.
The reason sealant fails this way is that it only adheres to a clean, dry, dust-free substrate. On a windy Mesquite afternoon, the wall surface is coated in grit before the tube is even opened. An installer who doesn’t wipe and prime the joint is applying sealant over a separating layer, and it will lift within weeks. In our experience installing across the Mesquite Valley, the single most common shortcut is a bead laid over an uncleaned stucco edge with no backer rod in the joint.
Walk the exterior with the crew still on site and check these:
- Tooling: the bead is smooth and concave, not a raw, ragged line of caulk.
- Adhesion: press the bead at three or four points; it should grip both surfaces, not flex away.
- Corners: the bead runs continuous around each corner with no break or overlap gap.
- Weeps and drainage: the bead never crosses a weep hole or drainage slot at the sill.
Take dated photos of each elevation. If a corner bead shows daylight through the joint, you have a missed step, and it should be corrected before the crew packs up. This is the kind of documented evidence that separates a careful window installation in Mesquite from a fast one.
2. Proud or Recessed Placement and the Drainage Problem
The terms “proud” and “recessed” describe where the frame sits relative to the rough opening and the wall plane. A window set proud sits out beyond the wall surface; a window set recessed sits deep into the opening. Both can be correct if the manufacturer specifies it. Both fail if the placement is accidental, because the window’s drainage system was designed around a specific setback from the exterior surface.
From the inside, a recessed window shows a wide drywall return and a frame that disappears into the wall. From the outside, a proud window shows an exposed exterior frame flange standing off the wall with a wide sealant joint behind it. If the manufacturer’s instructions call for a flush or a specific setback (often a quarter to three-eighths of an inch), a window set either too fitful or too deep will collect water at the sill, and the sill is where it will first fail.
How to read it:
- Ask the installer for the manufacturer’s installation instructions before the job starts. Every brand Sightline carries – ViewLux, PGT, CGI, CWS among them – publishes a required setback.
- Measure the setback on the finished window against that spec, inside and out.
- Look for water staining or mineral deposits at the sill and corners, which reveal where the sill pan can’t drain.
- Confirm the sill pan itself slopes toward the exterior weep.
In Mesquite, monsoon-season rain arrives in concentrated bursts and hits the valley walls hard. A window that cannot shed water from the sill will find that out in the first real storm, often the same summer. Placement is the first thing we measure on a second-opinion visit, and it’s the first thing a written scope should record.
3. The Operating Test Every Homeowner Should Run Before the Crew Leaves
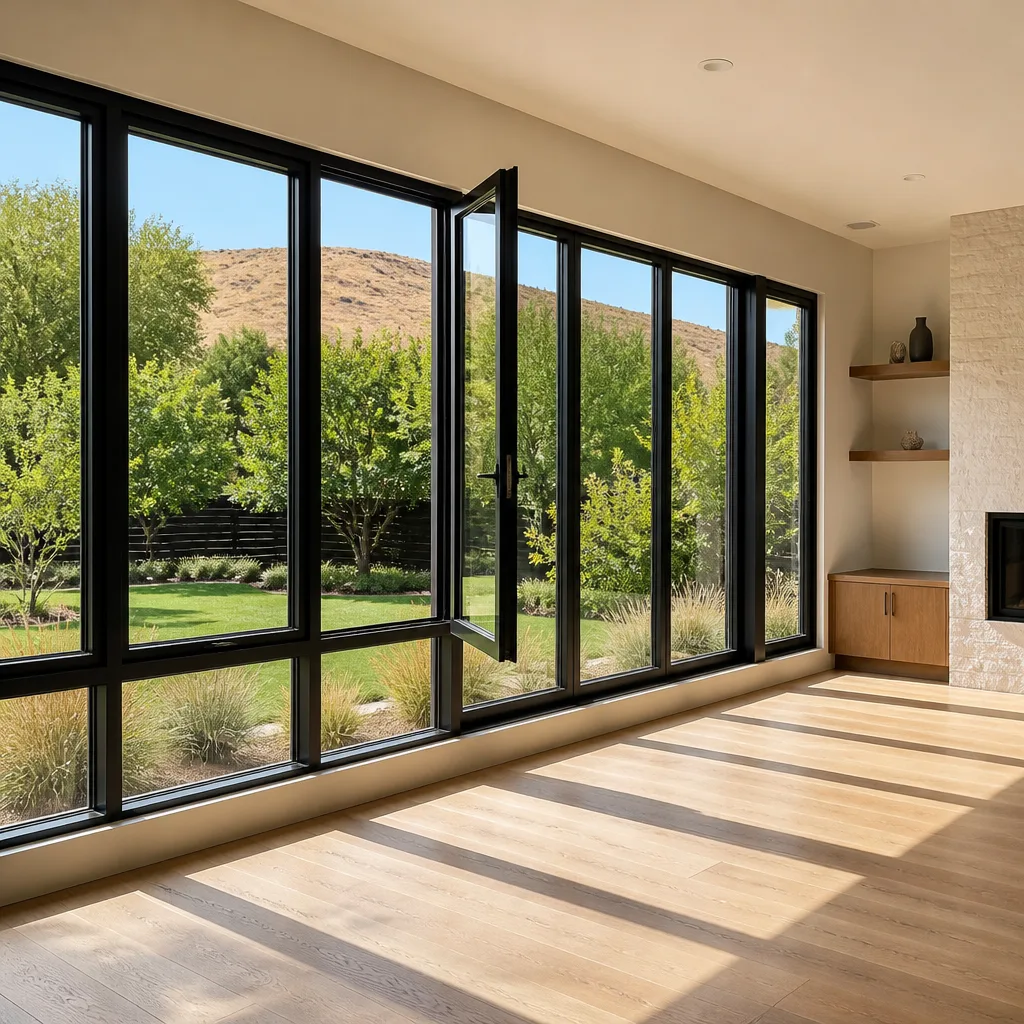
Every sash, on every window, should be operated by you while the installer is standing there. Not by them. You.
The test is straightforward. Open and close the sash fully once. It should move with modest, even resistance – enough that it doesn’t slam, but not so much that you need two hands. The gap at the frame on each side should be consistent all the way around; a working tolerance is about an eighth of an inch (roughly 3 mm) at the perimeter, and any spot that pinches to zero or widens noticeably indicates the unit is out of square. The lock should meet its keeper without force. If a lock needs to be pushed, nudged, or lifted to engage, the sash is out of alignment, and alignment problems are frame problems, not hardware problems.
Sliding windows and patio doors deserve extra attention:
- Roll the sash the full length of track. Any squeak or grab means the rollers or the track are out of alignment.
- Check that the operating hardware height matches the frame side it’s mounted to; a drifting slider will show it here first.
- Confirm the screen fits its channel without bowing.
- Look at the jamb reveal – the strip of frame visible around the sash – and ask why it isn’t even.
This test takes about ten minutes across a whole house and catches most frame-square problems before the crew leaves the driveway. In Mesquite homes we’ve inspected, the common complaint behind a window that “suddenly” won’t lock is a unit that was set slightly out of plumb and then hid the fault behind a smooth-running track until the first summer heat cycle shifted it.
4. Weep Holes: Open, Positioned, and Unblocked
Weep holes are the small drainage slots at the bottom and sometimes top of a window frame. They let water that gets past the exterior seal escape back outside before it reaches the sill or the wall cavity. Once exterior trim and sealant go on, they’re easy to cover by accident, and covering them is the most common single defect we find on a second-opinion inspection.
Check them on installation day, before trim is applied, and again after the trim is finished:
- Confirm every weep hole is open and clear of sealant, paint, or debris.
- Confirm each weep is at the low point of the sill and not sitting above a lip that would trap water.
- Check that no sealant bead runs across a weep. A tooled bead should stop and pick up again on either side.
- Look for a weep on the exterior only; interior weeps are a sign of a wrong-way unit.
If you find a blocked weep after the trim is on, don’t dig at it with a knife. Ask the installer to return and correct it, because cutting sealant at the trim line can open a joint you can’t easily reseal. In Mesquite, where the dust and fine grit from open desert lots collect in every horizontal slot, we recommend the homeowner verify weeps at the 30-day mark as well as on installation day. A clogged weep in a valley home that faces a windy elevation will show up as a water stain on the interior sill long before you notice the slot is packed.
5. Reading the Installation Photo Record for Flashing Evidence
Flashing is the water-shedding layer installed around the rough opening before the window is set: sill pan at the bottom, side flashing at the jambs, and head flashing at the top. Once the window and trim are in, flashing is invisible. The only proof it was done right is a photo taken at the rough-opening stage, before the unit went in.
A photo record that proves proper flashing should show the rough opening with the sill pan installed and lapped correctly over the sheathing, the side flashings running up the jambs and over the sill pan at the corners, and the head flashing lapped over the sides. It should show movement toward the exterior and no reversed laps. And it should be dated and tied to the specific opening.
A record that skips this stage is a warning sign, not proof of a defect – but it means you can’t verify what’s behind the wall, and that’s a problem for the next owner of the house as much as for you. On a Mesquite stucco home, the rough-opening photo is the one document that shows the flashing went in ahead of the foam and mesh. This is why the documented photo record on every Sightline job is included as standard evidence, and why we hand the customer the phone and a record of the openings rather than ask them to trust us.
Ask for the rough-opening photos on every job, for every opening. If the installer can’t produce them, ask what they’d show you instead.
6. Mesquite-Specific Warning Signs: Heat, Dust, and Stucco
Window failures in the Mojave Desert arrive faster than in coastal climates, because the material is baked and the ground below it shifts. Mesquite sits on expansive soils that swell and shrink across the wet-dry cycle, and a hundred-plus-degree summer will push every sealant and gasket past its design range. Three signs are specific to homes here:
- Sun-facing sealant cracks: exterior oil-based or low-grade sealants on west and south elevations will crack at the bead within a season in Mesquite. A properly specified sealant with UV resistance should still be flexible at the one-year mark.
- Stucco cracking radiating from corners: fine cracks running out from the window corners usually mean the flashing or the rough opening has moved against the stucco, and the corner is taking the stress.
- Dust intrusion at the jamb: in homes along the desert edge, fine dust finds every gap. A felt or foam gasket that isn’t continuous shows it as a line of grit on the interior sill the morning after a windy night.
Insulating glass units also behave differently here. A dual-pane unit with a failed seal will fog from the edge inward – a window that looks clear on a cool morning and cloudy by afternoon. If you’re weighing whether to repair or replace a fogged unit, our guide to window replacement in Mesquite explains when a failed IGU means a new sash and when it means a new opening. Ask what U-factor and SHGC the specified product is rated to; on a west-facing Mesquite wall, the SHGC number matters more than the marketing label.
7. The Paperwork Warning Sign: Price, Scope, and Warranty
The most expensive installation failure isn’t on the glass. It’s the fact that the price you agreed to isn’t the price you were charged, or the warranty you were promised isn’t the warranty you got in writing. Warning signs show up before a tool is lifted:
- The quote is verbal, or a single lump sum with no opening-by-opening line items.
- The measured survey you were handed isn’t the document attached to the quote – two papers, two prices.
- No written scope of what happens if the substrate behind the frame is rotten or out of square.
- A warranty that’s described in conversation but not provided before the job starts.
- A crew that can’t produce a written license number or an insurance certificate at the door.
Sightline’s Haven Standard is built against every item on that list. The measured survey is the document you keep, and the written price can’t differ from it. Every job carries the 365-Day Done Right Promise in writing, and every technician who arrives is background-checked, uniformed, and on the record by license number. That’s Haven Clause 1 and Clause 3 doing the work that a firm handshake can’t. It’s also why we offer a free second opinion on any written estimate – bring a competitor’s quote and we’ll review it at no charge, so you can see the difference between a real scope and a number.
8. Your 10-Point Post-Installation Inspection Checklist
Run this on installation day and again at the 30-day mark. Take dated photos of each item.
- Sealant bead: tooled, concave, continuous, and gripping both surfaces at every corner.
- Weep holes: all open, at the low point, and clear of sealant and debris.
- Setback: matches the manufacturer’s spec for the exterior and interior return.
- Sash operation: full open and close with even resistance, perimeter gap of about 1/8 inch, no pinch points.
- Lock and keeper: engages without force, no lift or nudge required.
- Sliding operation: full track travel, no grab or squeak, screen fits cleanly.
- Flashing photos: rough-opening record shows sill pan and jamb laps for each opening.
- Glass: clear from edge to edge, no clouding at the margins.
- Exterior trim: no gap between the trim, the frame, and the wall surface.
- Paperwork: measured survey, written scope, warranty, and photo record all in your hands.
Any item that fails is a conversation to have before the crew’s truck leaves, or a call to make the next morning – not a problem to file away for next year. The longer a defect sits in the Mesquite heat, the more of it you own, and the more it can cost to put right.
Common Mistakes to Avoid
- Judging the job from the inside. The exterior sealant and the weep holes are where the water gets in; many homeowners never look at the outside wall until the first leak.
- Skipping the operating test. A sash that needs a nudge to lock today will need a repair call within a season.
- Accepting a lump-sum price. A written quote should name each opening, the product line, the glass spec, and the price in dollars. Without that, you have no way to compare work.
- Ignoring recessed trim work. When new exterior trim hides the weep line, the window loses its drainage even though the sash looks fine.
- Assuming stucco hides a defect. Mesquite stucco homes show corner cracks within a year when the flashing is wrong, and those cracks run outward from the frame edge.
- Never asking for the rough-opening photos. If the record skips the flashing stage, you have no evidence the wall cavity was protected.
- Filing the paperwork in a drawer. The written scope and warranty are what you enforce at the 12-month mark; keep them with the survey you were handed.
When to Call a Professional
Some defects are cosmetic, and some are structural. The line is simple: anything involving flashing, sill placement, glazing failure, or a frame that’s out of square belongs with a trained installer. Don’t attempt to fix a weeping sill by rewrapping it yourself; a wrong-way lap on a sill pan traps water and hides the problem until a wall is wet. The same goes for a fogged IGU, a leaking jamb, or a frame that’s settled out of plumb. If your window is newer than a year and shows any of the eight signs in this guide, you’re within warranty territory and you should be making a documented call, with photos attached. Sightline Windows & Doors Mesquite offers free estimates in Mesquite – call (888) 268-5117, and bring us any written quote for a free second opinion. A professional can tell within minutes which defects are cosmetic and which need the opening reopened.
Frequently Asked Questions
Most exterior sealant failures show up in 30 to 60 days, because the bead lifts from an unclean substrate as the material cures. Frame and alignment problems can show up the same day if you run the operating test. Water intrusion from blocked weeps or reversed flashing often waits for the first heavy rain, which in Mesquite can arrive months after the job.
A proper bead is tooled, meaning it’s smooth, concave, and pressed against both the frame and the wall with no voids, dry edges, or corner gaps. Press it with a clean, dry fingertip and it should grip both surfaces and spring back. A bead that lifts off in one clean ribbon bonded to nothing, and that’s a defect to be corrected before the crew leaves.
On installation day, look at the bottom of the exterior frame and confirm each weep slot is open, at the low point of the sill, and clear of sealant, paint, or debris. No sealant bead should run across a weep. In a dusty Mesquite valley, check again at 30 days, because fine grit collects in every horizontal slot and can block drainage on its own.
A proper flashing record shows the rough opening with the sill pan installed and lapped over the sheathing, side flashing running up the jambs, and head flashing overlapping the sides, all before the window went in. It should be dated and tied to each opening. A record that skips the rough-opening stage doesn’t prove a defect, but it means you can’t verify what’s behind the wall.
Yes. West-facing walls in Mesquite deserve attention to SHGC (how much solar heat the glass admits) and U-factor (how well it insulates), and the sealant has to hold up to UV and 100-degree-plus summers. Products from ViewLux, PGT, CGI, and CWS are available in specs that fit the desert climate, so ask what numbers the product is rated to before you agree to it.
The measured survey is the physical measurement of each opening you keep; the written quote is built from it and can’t differ from it. If a contractor hands you two documents with two prices, or a single lump sum, that’s the warning sign. A written price before any work starts is the standard on every Sightline job, and it’s the first thing to ask for before you sign with anyone. Call (888) 268-5117 for a free estimate and see what a written scope looks like.
The Bottom Line
Window failures leave evidence you can read in the first week: an untooled sealant bead, a sash set proud or recessed, a lock that won’t keep, blocked weeps, a photo record missing the flashing stage, and a price that doesn’t match the paid document. Walk the exterior, run the operating test yourself, check the weeps before the trim goes on, and demand the rough-opening photos. Any single sign is worth a call; several together are a stop-work conversation. If you’ve just had windows installed in Mesquite and something on this list looks familiar, have it looked at while the sealant and the warranty are still fresh. You can review our Sightline Windows & Doors Mesquite home for how our process works, or if doors are part of your project, see our door installation in Mesquite page for the same quick answers.
Call (888) 268-5117 for a free estimate. Bring a competitor’s written quote and we’ll review it at no charge, and you leave with a written price before anyone starts. The price and the measurement are the same document, that’s the Haven Standard.
Written by the team at Sightline Windows & Doors Mesquite.
Six Reasons Homeowners Choose Sightline Windows & Doors Mesquite

Laminated glass and reinforced frames hold up to wind-driven rain, hail and flying debris, so your openings stay sealed when the weather turns.
Low-E insulated impact glass from our manufacturer lines commonly cuts monthly cooling bills 20-30%.
Laminated impact glass shuts out up to 40% of outside noise - traffic, neighbors, weather.
Monitoring services run $30-90 a month. Laminated impact glass resists forced entry around the clock, with no subscription.
Tighter seals and insulated glass even out hot and cold rooms and stop the drafts at the frame.
A full impact package upgrades curb appeal, buyer confidence and appraised value in one project.
Other Sightline Windows & Doors Mesquite Services
What Neighbors Say About Sightline Windows & Doors Mesquite