Last updated November 18, 2026
New windows and doors improve comfort, cut energy bills and add long-term value to your home. Sightline Windows & Doors Mesquite pairs proven product lines with a local vetted installing partner for lasting performance - and a price put in writing.
Choose your installer
The unit is half the job - the install is the other half. Background-checked local installers measure, set, seal and insulate every opening, and they know the lines we quote inside and out.
Select the right products
Compare styles, materials and glass packages side by side until the fit is right for your rooms, your budget and your goals. The product-line comparison below is the place to start.
Prepare your home for install
Before install day we walk you through a short checklist - furniture pulled back, treatments down, a clear path to each opening - so install day is watch-it-happen, not scramble.
Compare the Lines We Quote
Every project is priced on the same lines, side by side - the price indicators below are relative, and your consultant shows exact numbers on your actual openings.
PGTThe line homeowners arrive naming - the most impact certifications in the industry$$$
- More impact certifications than any other line we quote
- WinGuard, EnergyVue and ClassicVue Max systems built for every wind zone
- 99% on-time delivery keeps your install date on the calendar
CGIThe heavyweight impact line$$$$$
- Large-missile impact ratings for the strictest wind zones
- Architectural-grade aluminum with commercial-depth frames
- The line we quote when protection is the whole point
CWSThe value pick$$
- Vinyl systems built to strict wind codes
- Strong energy packages at the friendliest price point
- The smart start for whole-home replacements on a budget
ESWSlim lines, big glass$$$$
- Narrow-sightline aluminum for modern elevations
- Oversized openings and floor-to-ceiling glass
- Impact-rated without the bunker look
ECOThe aluminum impact workhorse$$$
- Factory-built aluminum impact systems
- A strong price-to-protection ratio for coastal homes
- Proven lines with short lead times
Window Replacement Warning Signs Every Homeowner Should Know
The most common window installation defect we find during a second opinion isn’t a cracked pane or a bad seal. It’s fasteners that never bit into framing. Insufficient screws through the nailing fin are invisible once exterior trim and sealant go on, but the problem takes about 90 seconds to verify while the wall is still open. After closeout, proving it happened means pulling trim off a finished wall. In Mesquite, where summer temperatures push past 110°F and monsoon wind gusts test every seal, a shoddy install announces itself within a season. This guide gives you a seven-point inspection you can run in roughly 20 minutes, while the crew is still on site and the check hasn’t been written.
Quick Answer
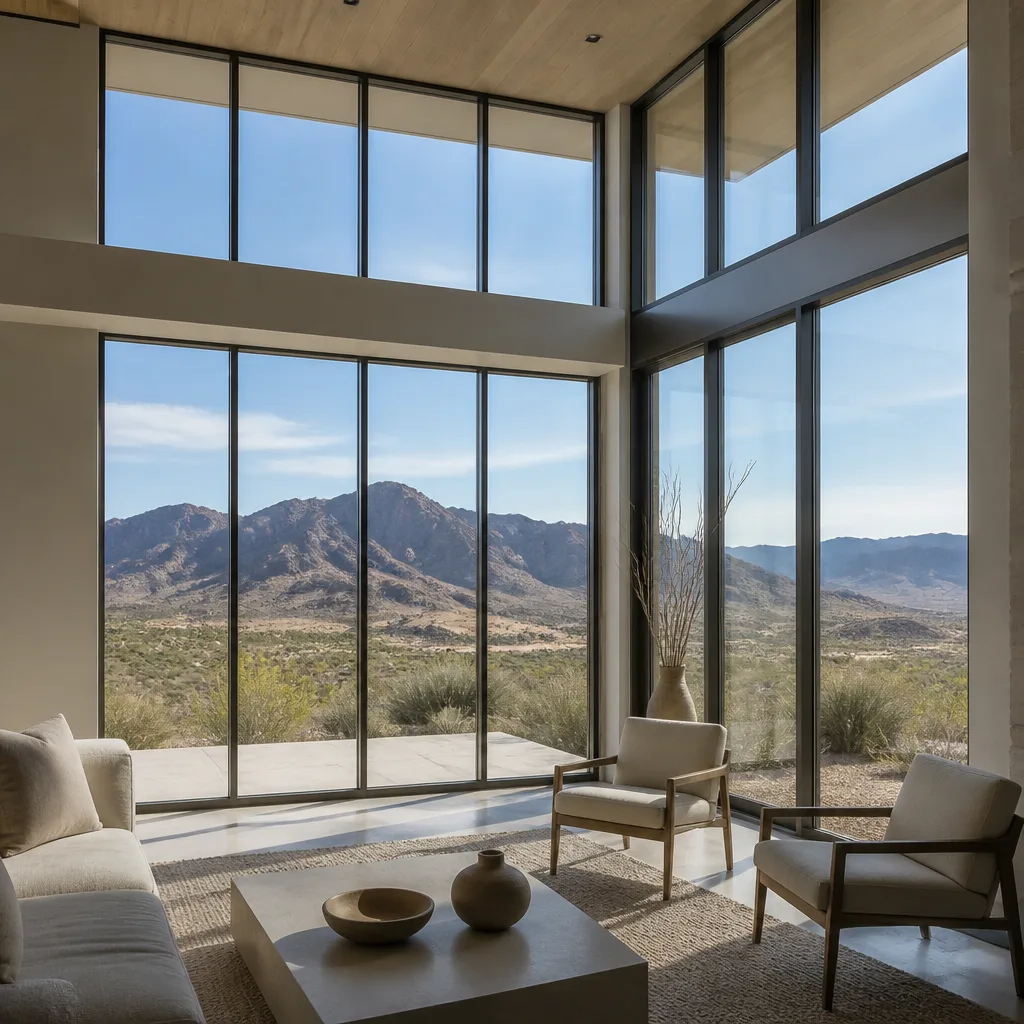
Window replacement warning signs fall into two groups: product failures you can see after the fact (fogging glass, drafts, water stains, sticky sashes) and installation failures you can only catch before the crew leaves (missing fasteners, no sill pan, uneven reveals, cosmetic-only sealant, no photo record). The second group matters more because it’s invisible after closeout. If you’re replacing windows in Mesquite, inspect each opening before signing completion paperwork, and ask for a written photo record at every opening.
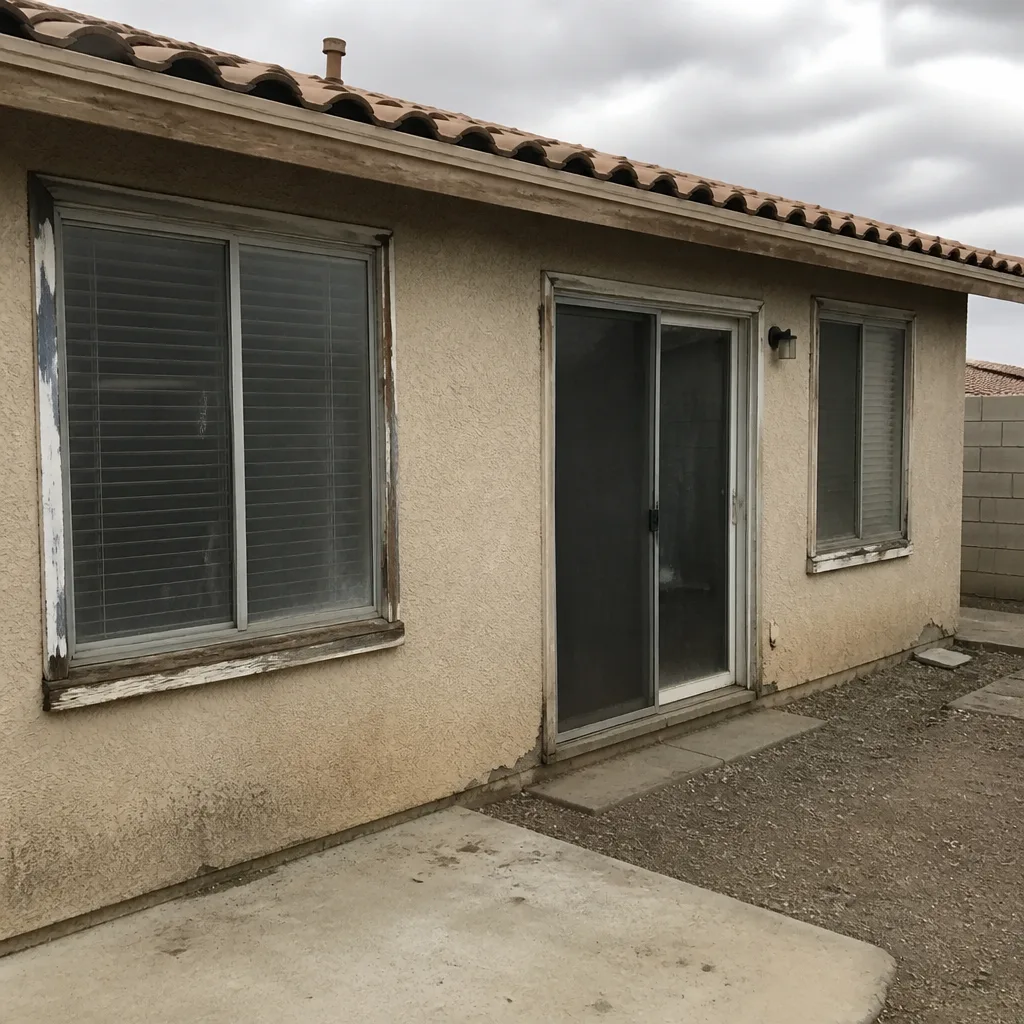 Before
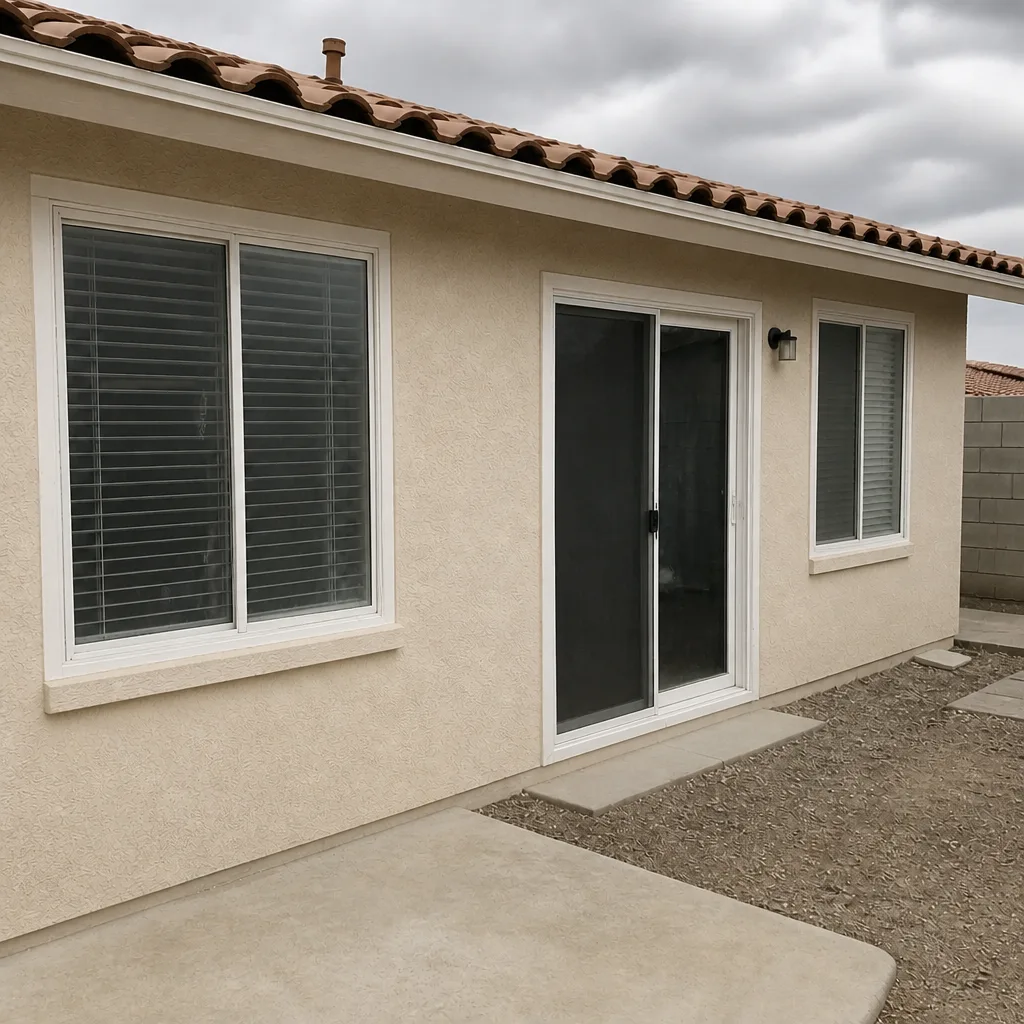 After
Table of Contents
- The Seven-Point On-Site Inspection
- Flashing and Sill Pan: What Correct Looks Like
- How to Spot Bad Shimming From Inside
- Sealant: Cosmetic Bead vs. Functional Weatherseal
- What Documentation to Demand at Completion
- Product Warning Signs You Can See Today
- Why Mesquite Conditions Expose Bad Installs Fast
The Seven-Point On-Site Inspection
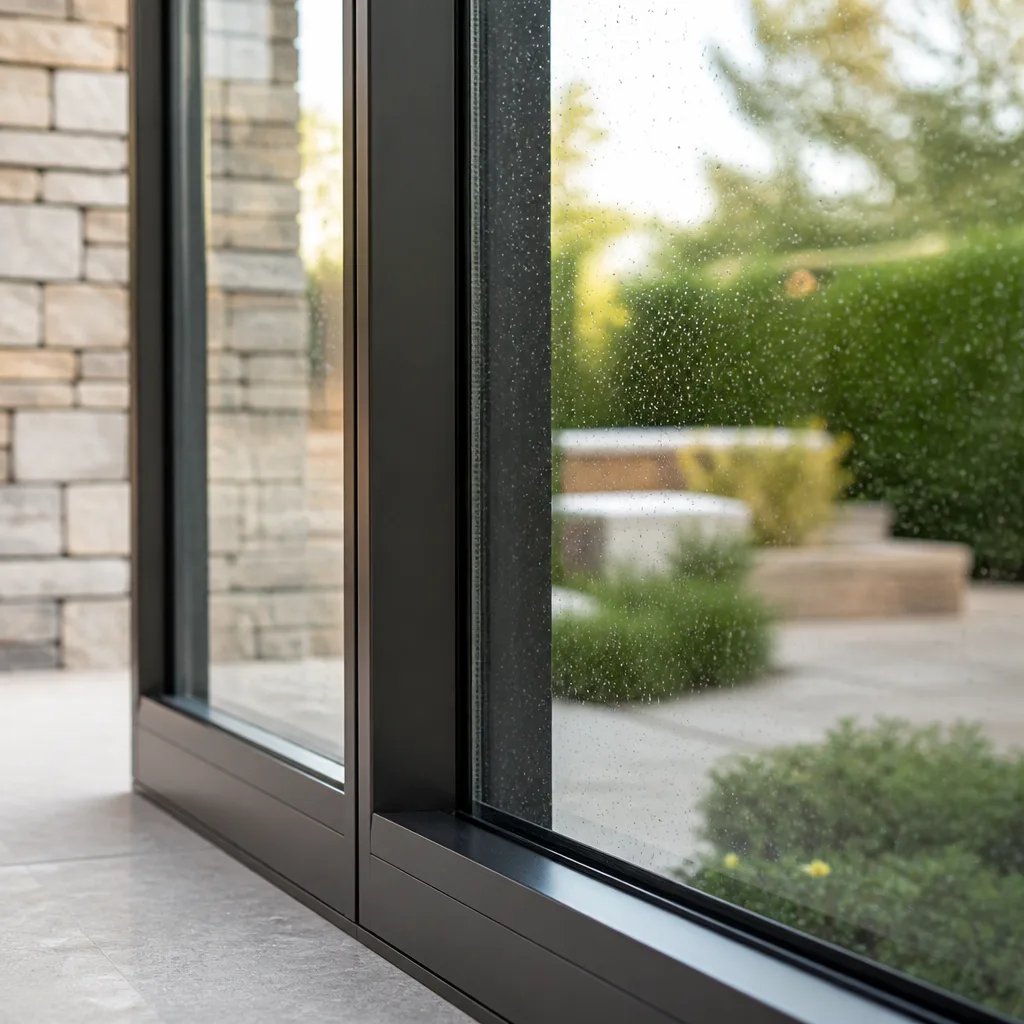
Run this before the crew packs up. It takes about 20 minutes for a typical house and catches nearly every defect that would otherwise surface next spring.
- Count fasteners through the nailing fin, where visible. Ask to see the fin before trim goes on. Standard calls for fasteners every 4 to 6 inches along the perimeter, set within 1 inch of the fin edge. Gaps larger than 8 inches are a red flag.
- Check each opening for a sill pan or back-dam. Look under the sill from the exterior. A pan should slope toward the outside weep, with end dams at both corners.
- Measure reveal spacing at all four sides. Use a tape measure at the midpoint of each side. The gap between sash and frame should be even within 1/16 inch side-to-side and top-to-bottom.
- Open, close, and lock every sash. Every operable window should latch with two fingers of pressure. If it takes a shove, the unit is racked.
- Press the interior trim at the miter joints. Any movement means fasteners are missing or the unit isn’t shimmed at the corners.
- Look at the sealant bead at a low angle with a flashlight. Beads should be continuous, tooled, and adhered to both surfaces.
- Ask for the photo record before final payment. Every opening, before and after trim and inside and out. If the crew can’t produce it, that’s the loudest warning sign on the list.
For a full-service install, window replacement in Mesquite should include this inspection as part of the handoff, not as a favor you have to ask for.
Flashing and Sill Pan: What Correct Looks Like
Flashing failures cause more water damage than any other installation defect we see. In Mesquite, the pattern is predictable: a dust storm blows fine grit into a seam that wasn’t sealed, the first monsoon rain drives water behind it, and the drywall shows a stain three months later. By then the damage is inside the wall cavity.
Correct flashing, from the interior looking out, follows a strict order:
- Sill pan first. A rigid pan or a self-adhered membrane runs the full width of the rough opening, with a back-dam at the interior edge and end dams at both corners. Water that gets behind the window must exit through the exterior weep holes, not into the wall.
- Flashing tape laps in shingle order. Bottom first, then sides, then top. Each layer overlaps the one below it. If your installer tapes the top first, water wicks behind every seam.
- Head flashing over the top flange. Taped, not just caulked.
Ask the installer to show you the order before they cover it. This takes less than two minutes. Once the exterior trim and stucco go back on, verifying it means removing finish.
How to Spot Bad Shimming From Inside
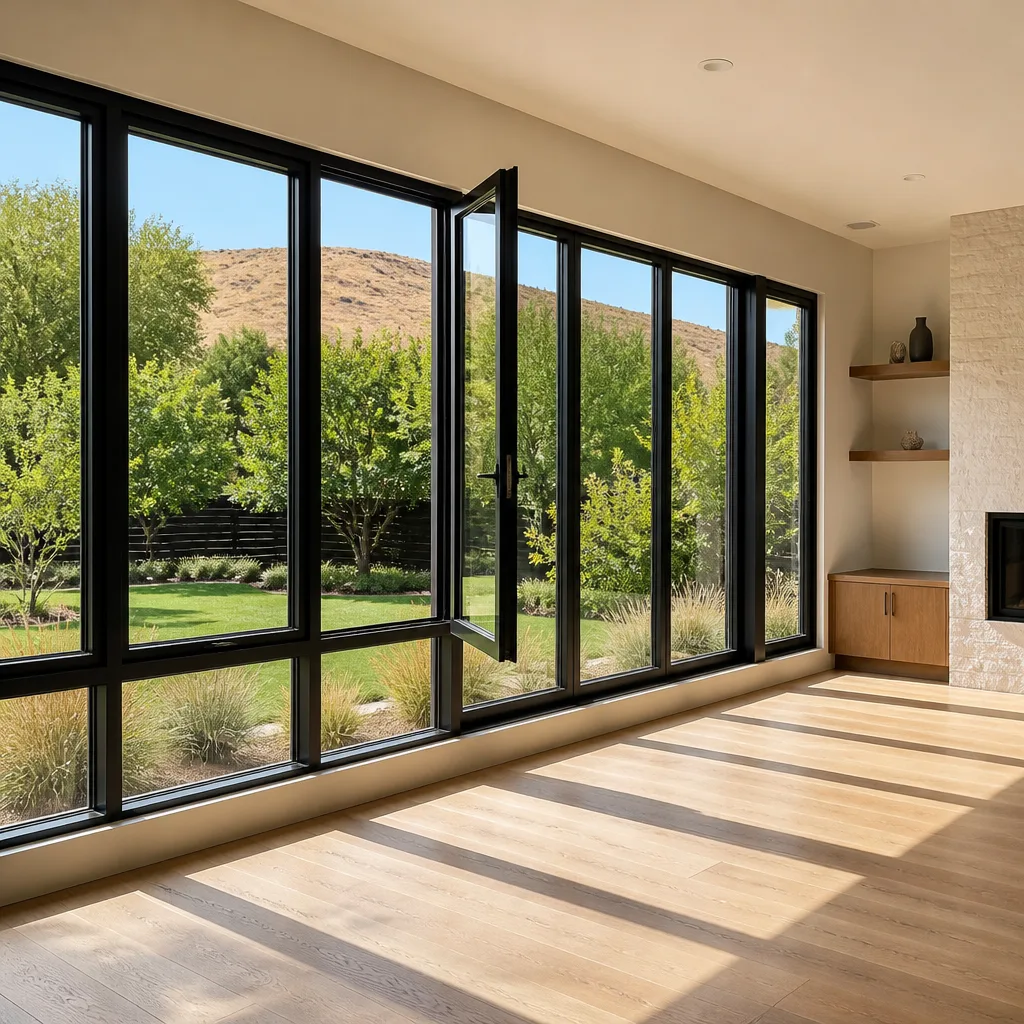
Shimming is what keeps a window square, plumb, and operating smoothly for the next 20 years. Bad shimming has one reliable tell from inside the house: uneven reveal spacing. The reveal is the gap between the movable sash and the fixed frame. It should be even all the way around.
Here’s how to check it with a tape measure:
- Measure the reveal gap at the top-center, bottom-center, and both sides of each sash.
- Side-to-side variance should be 1/16 inch or less.
- Top-to-bottom variance should also be 1/16 inch or less.
- Any gap larger than 1/8 inch at any point means the frame is out of square.
An out-of-square frame will bind a sash within one or two seasons of thermal cycling. A properly shimmed unit should sit with shims at the sill corners, one at the center of the sill, and pairs at each jamb roughly 1/3 from top and bottom. Shims should be at the point of fastener, not floating in the middle of the frame.
If you can see light or feel a draft around the reveal while the window is fully latched, the unit is either racked or the weather seal was compromised on install. Mesquite’s swing between cold desert nights and 110°F afternoons pushes both problems into the open faster than a temperate climate would.
Sealant: Cosmetic Bead vs. Functional Weatherseal
Every installer can make a window look sealed for about a week. The difference between a cosmetic bead and a functional weatherseal shows up the first time the wind blows sideways. Here’s how to tell them apart before it rains:
- Continuity. A functional bead runs unbroken around the entire perimeter. Pinholes, gaps at corners, and skipping at the sill mean water has an entry point.
- Tooling. The bead should be struck with a joint tool or a wet finger, pressed into both surfaces. A flat, stringy bead laid over the gap was almost certainly applied fast and won’t bond long-term.
- Adhesion. Press a dry fingertip into the bead at a corner. It should feel bonded to the substrate, not skinned over with a gap underneath.
- Substrate prep. Sealant on dirty or damp stucco doesn’t stick. On a Mesquite install, the surface around the opening should look clean and dry before any bead is laid.
- Compatible sealant. Exterior-grade, paintable if trim will be painted, and formulated for the substrate (stucco, wood, vinyl). Not painter’s caulk.
Ask your installer what sealant they’re using by name and what it’s rated for. If the answer is vague, that’s your answer.
What Documentation to Demand at Completion
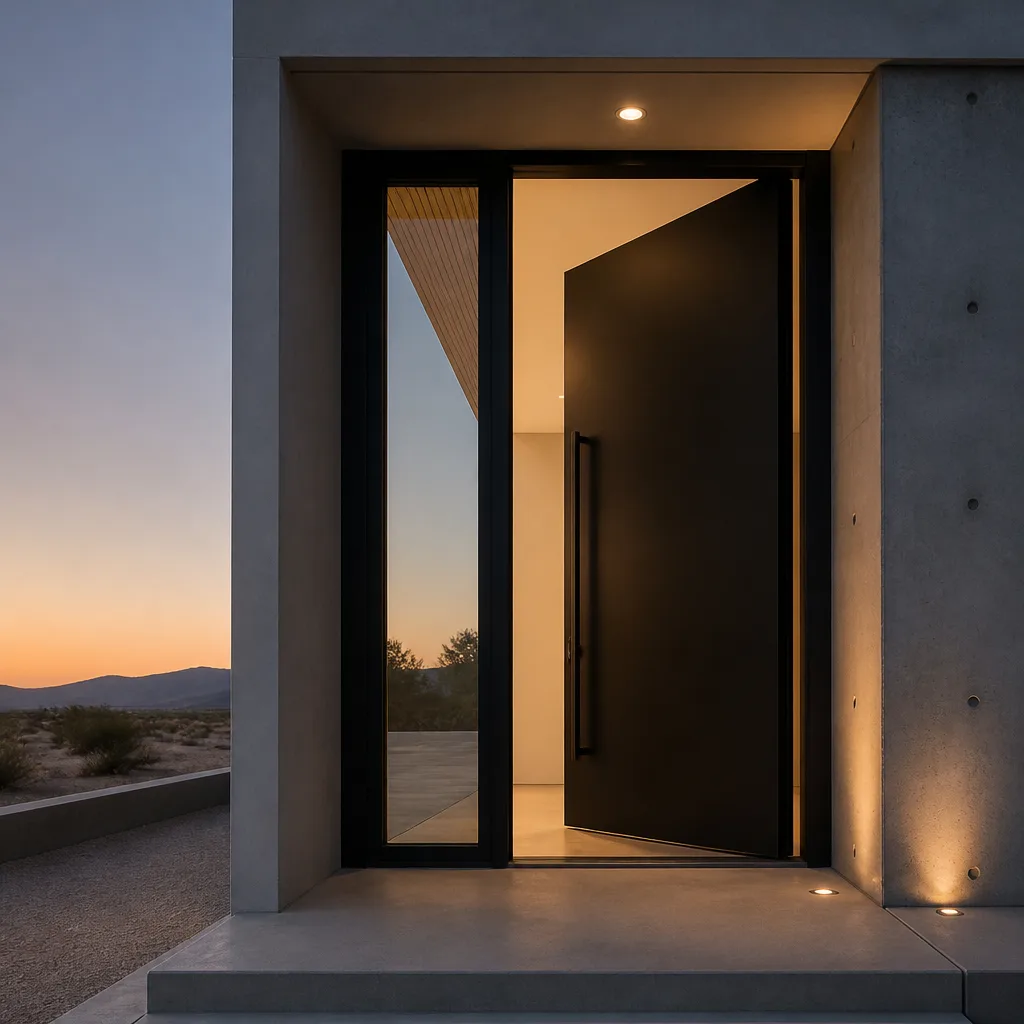
The absence of a photo record is itself a warning sign. If a crew didn’t photograph an opening before closing the wall, there’s no way to prove the fastener count, the flashing order, or the shim placement was correct. That matters at year 3 when a leak appears, and it matters at resale when a buyer’s inspector asks how the windows were installed.
A proper completion package includes:
- Before-and-after photos of every opening, exterior and interior, showing the window in place before trim and finish go on.
- A close-up of the sill pan and flashing tape at each opening.
- Product labels from each unit, showing the manufacturer, model, U-factor, and SHGC. This is how you confirm you got the performance you paid for.
- A written scope that matches the final invoice, line-item to line-item.
- The written warranty, not a verbal promise, with the coverage spelled out.
If the contractor resists, that resistance is the message. Documentation should be standard, not an upsell. When we handle window installation in Mesquite under the Haven Standard, the photo record ships with the job as Evidence on Every Job (Haven Clause 4), because there’s no other reliable way to prove the install years later.
Product Warning Signs You Can See Today
Some warning signs are worth acting on before you schedule anything. If you spot two or more of these on the same side of the house, the windows are telling you something.
- Fogging between panes. The seal on a double-pane unit has failed. Condensation inside the glass can’t be cleaned and can’t be repaired. The IGU needs replacement or the whole window does.
- Water stains on the interior sill or adjacent drywall. Almost always a flashing or sealant failure at the opening above, not a leak in the window itself.
- Drafts on a still morning. Hold a tissue near the weatherstripping. Movement means the seal is compromised, either at the sash or at the frame-to-wall joint.
- Sash that sticks or won’t latch. Realign the window and it still binds = frame is out of square.
- Visible condensation on the room-side glass every morning. Not always the window’s fault, but combined with cold spots, it points to a unit specified for the wrong climate zone.
- Rotted exterior trim or soft sill. Water has been getting behind the window for a while. Fix it before you replace, or the new window inherits the problem.
How the window is specified matters as much as how it’s installed. Units from CGI, CWS, ES Windows, and ECO Window Systems each have different U-factor and SHGC ranges. Specifying for Mesquite’s climate zone is a conversation, not a checkbox. Every project begins with a measured survey the customer keeps; the written price is built from that document, and the price before work starts is the price on the invoice.
Why Mesquite Conditions Expose Bad Installs Fast
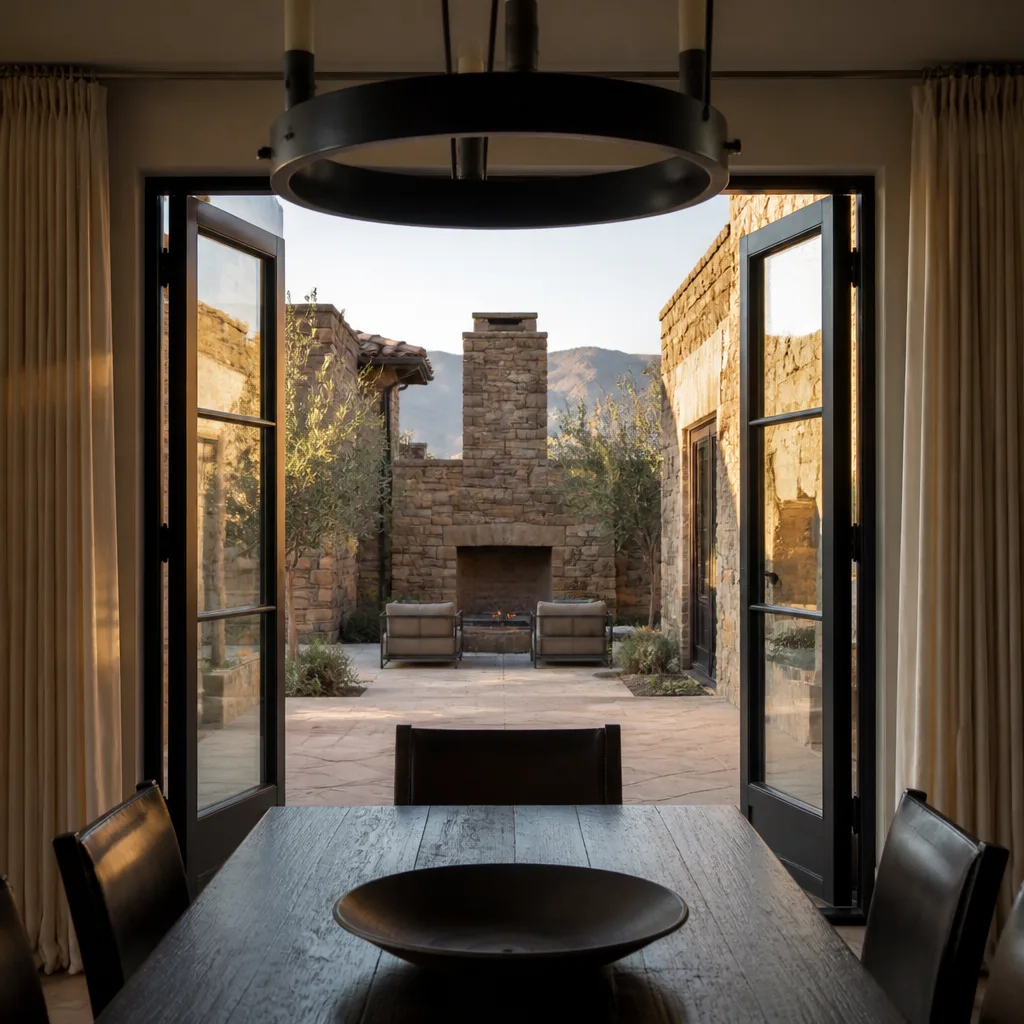
Mesquite isn’t a forgiving climate for windows. Summer air temperatures regularly top 110°F, and wall temps on a west-facing elevation can read 40°F higher. That swing stresses sealant, shims, and gaskets at a rate you just don’t see in mild coastal climates. Neighborhoods like Sun City Mesquite and the golf-course communities off Mesquite Boulevard see this play out in predictable ways: sealant that looked fine in April starts cracking by August, and any window with a shim gap at a corner starts to bind within the first summer of thermal cycling.
Wind-driven dust is the second pressure. Fine grit works into any gap where sealant bead was applied thin or where the fin was left unpressed. The first monsoon rain behind a compromised flashing job always shows up inside the house as a sill stain or a bubbling paint edge, not at the window itself. When you inspect an install here, flashlight the sealant bead at a low angle; it’s the fastest way to spot skipping or thin-out that a straight-on look will miss.
The third factor is code. Nevada’s energy code sets minimum U-factor and SHGC thresholds that vary by climate zone, and Mesquite sits in one of the more demanding zones. Your installer should be able to show you the product labels confirming the units meet code for your address, and the permit and inspection paperwork should reflect it. When we work in Mesquite, pulling permits and passing inspections isn’t optional and gets attached to the completion package.
Common Mistakes to Avoid
- Signing the completion check before the crew leaves. Once the trim is back on, the defects you could have caught in 20 minutes cost several hundred to a few thousand to correct. Do the inspection while the wall is open.
- Accepting a verbal promise on flashing. Ask to see the tape order (bottom, sides, top) before anything goes over it. Photograph it yourself if the installer doesn’t.
- Ignoring an uneven reveal because the sash “seems fine.” A 1/8-inch variance today becomes a binding sash next July in Mesquite heat.
- Taking the manufacturer’s word over the label. Look at the actual U-factor and SHGC printed on each unit’s label. Match them to the ones on your invoice.
- Skipping the permit for a “same size” swap. Even same-size replacements require inspection in most Mesquite cases. Unpermitted work becomes a disclosure headache at resale.
- Not requesting the photo record. Without documentation of the fasteners and flashing, you have nothing to lean on if a leak appears in year 3.
- Buying on brand alone. A well-specified CGI unit installed correctly will outperform a premium-brand unit installed badly, every time.
When to Call a Professional
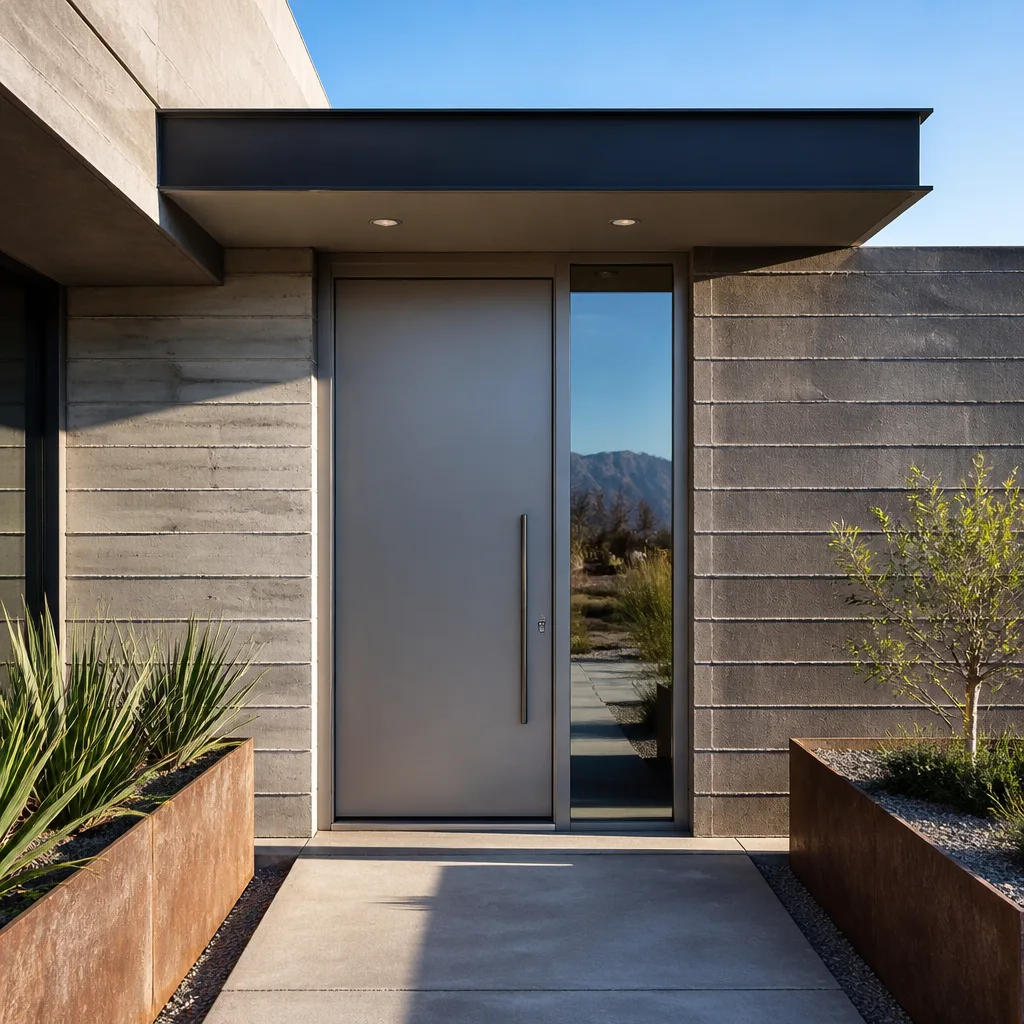
Some warning signs are worth a service call. Others are worth a full inspection. If you’re seeing fogging between the panes on two or more windows, water stains at a sill, or sashes that won’t latch even after a realignment, the window is past the point where a homeowner fix helps. The same applies if you’re within a month of a big install and want a second opinion on the written quote or the specified product. A free second opinion on any written estimate costs nothing and catches more than homeowners expect; bring us a competitor’s quote and we’ll walk it line by line. Sightline Windows & Doors Mesquite offers free estimates in Mesquite. Call (888) 268-5117 to schedule yours.
Frequently Asked Questions
Insufficient fasteners through the nailing fin. Standard calls for fasteners every 4 to 6 inches around the perimeter; gaps larger than 8 inches, or any fastener missing at a corner, mean the unit isn’t anchored to framing. This is invisible once exterior trim and sealant go on, so inspect it while the wall is still open. Call (888) 268-5117 for a free estimate if you’re scheduling a replacement in Mesquite.
Measure the reveal gap at the top-center, bottom-center, and both sides of each sash. Variance should be 1/16 inch or less side-to-side and top-to-bottom. If any gap exceeds 1/8 inch or the sash binds, the frame is out of square. Call (888) 268-5117 for an exact quote on correction; estimates are free.
Every opening photographed before and after trim and finish, exterior and interior. The sill pan and flashing tape close-up at each opening. Product labels showing the manufacturer, model, U-factor, and SHGC. A written scope matching the final invoice. If a contractor can’t produce this, that’s the warning sign. Call (888) 268-5117 and we’ll walk you through what a compliant record looks like.
Correction work typically runs $250 to $900 per opening, depending on whether the fix is a reseal, a re-flash, a re-shim, or a full reinstall. A second opinion on an existing quote costs nothing, and a written correction scope is the first step. Call (888) 268-5117 for an exact figure; estimates are free.
Temperature swings. Summer air temps over 110°F and hot wall surfaces combine with cold desert nights to stress sealant, shims, and gaskets. Bad installs that would take five years to show in a temperate climate show up in one Mesquite summer. Call (888) 268-5117 to schedule an inspection before the next swing.
In most cases, yes. Nevada and local building departments require a permit and inspection even for same-size swaps because the install touches the building envelope. Ask the installer to show you the permit number before work starts. Call (888) 268-5117 for a free estimate that includes permit and inspection as a line item.
The Bottom Line
The warning signs that matter most are the ones you can only catch before the crew leaves. Missing fasteners, no sill pan, uneven reveals, cosmetic-only sealant, and no photo record are all visible on-site in a 20-minute walkthrough. Product failures like fogging glass and drafts are real, but they’re second in priority because the installation defects they mask cost more to fix. Mesquite’s heat and dust expose both faster than most climates. Do the inspection while the wall is open, demand the photo record, and check the product labels against your invoice. Our technicians have up to 14 years of experience and can carry out door installation in Mesquite on the same visit. When in doubt, bring your quote to Sightline Windows & Doors Mesquite for a free second opinion. Call (888) 268-5117 to schedule your free estimate.
Written by the team at Sightline Windows & Doors Mesquite.
Six Reasons Homeowners Choose Sightline Windows & Doors Mesquite
Laminated glass and reinforced frames hold up to wind-driven rain, hail and flying debris, so your openings stay sealed when the weather turns.
Low-E insulated impact glass from our manufacturer lines commonly cuts monthly cooling bills 20-30%.
Laminated impact glass shuts out up to 40% of outside noise - traffic, neighbors, weather.
Monitoring services run $30-90 a month. Laminated impact glass resists forced entry around the clock, with no subscription.
Tighter seals and insulated glass even out hot and cold rooms and stop the drafts at the frame.
A full impact package upgrades curb appeal, buyer confidence and appraised value in one project.
Other Sightline Windows & Doors Mesquite Services